For weeks and weeks I searched for the perfect dessert to make for Justin's birthday dinner. It's a big birthday (I'll keep the exact details... cough/40... to myself) so I wanted to make him something special. I knew it would have to be a cheesecake. He always orders the berry cheesecakes when we're out, and I've seen the most luscious looking raspberries in the supermarket recently - so I thought I would attempt a raspberry cheesecake for him. And homemade cheesecake is SO delicious!
I went hunting for a recipe and found this stunning recipe by Ashley at Spoonful of Flavor who guest posted for Carrian at Oh Sweet Basil. Both of these food blogs are AH-mazing and I was so impressed with how easy it was to make these little beauties. Great job Ashley and Carrian!
I wanted a 'no-bake' option and I loved the look of the 'mini' adorable little portions. I also loved the combo of creme fraiche, cream, and cream cheese --> YUM! So I just had to try this recipe.
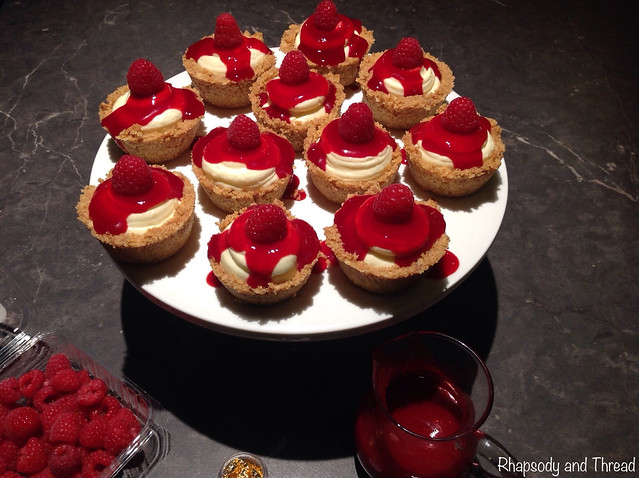
The instructions were easy to follow and the results were as delicious as they look in the photos.
The only downside was that it didn't take me 20 minutes to prepare (like the recipe says) because I had to convert the American measurements to Australian. So in sharing my attempt at these mini cheesecakes, I have kind of shown an Australian conversion. I have kept as close to the measurements as possible, only converting sticks and ounces to grams. And I shared the Australian version of ingredients such as 'digestive biscuits' instead of 'graham crackers', 'icing sugar' instead of 'confectioners sugar', and 'cornflour' instead of 'cornstarch'. These changes did not affect the look or the taste of these gorgeous little gems.
So here's how I went!
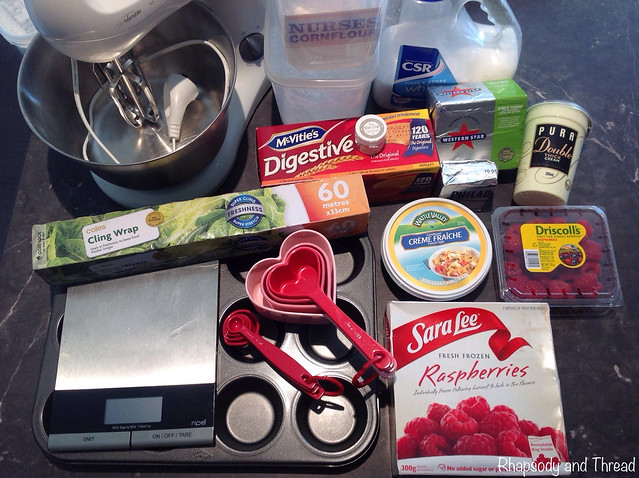
Ingredients List:
For the biscuit base:
3 tbsp sugar
2 cups Digestive biscuit crumbs (approx. 18 biscuits so 1 box will do... with a few left for the kids. Crush to a fine sand consistency)
115g unsalted butter
For the filling:
250ml heavy/double cream
275g cream cheese, room temperature (approx. 1¼ blocks)
200g creme fraiche
⅔ cup icing sugar, sifted
For the raspberry sauce:
2 ½ tsp cornflour
3 tbsp sugar
⅓ cup water
350g frozen raspberries, thawed (I used a 300g box of Sara Lee frozen raspberries and 50g fresh raspberries)
For the garnish:
fresh raspberries, for garnish
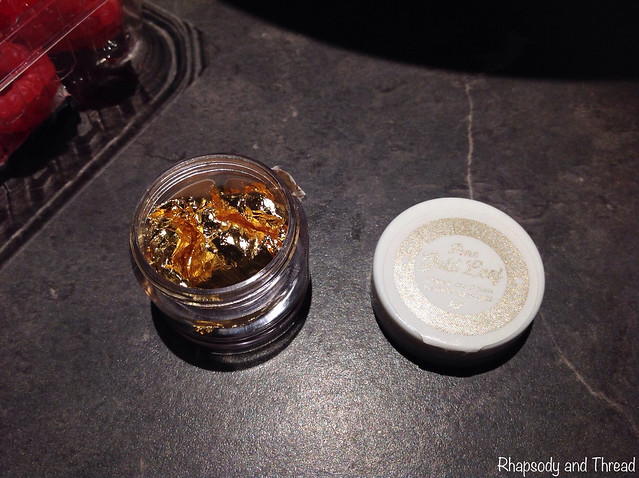
edible gold leaf, for sparkle
Instructions For The Biscuit Base:
1. Line a 12-hole muffin tin with plastic wrap.
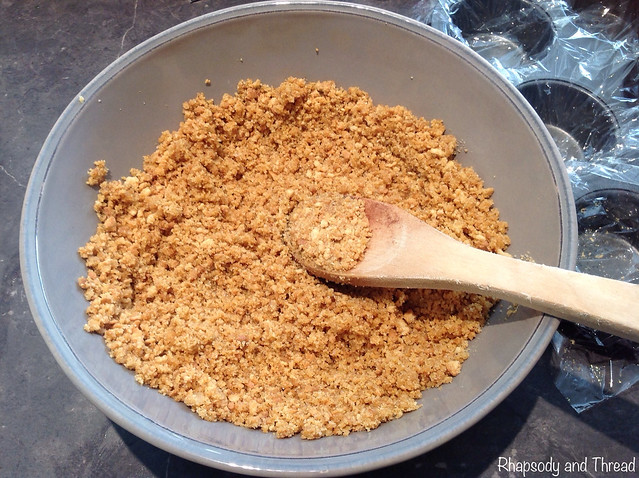
2. In a small bowl, combine the sugar and biscuit crumbs. Stir in the melted butter.
You want a wet sand consistency.
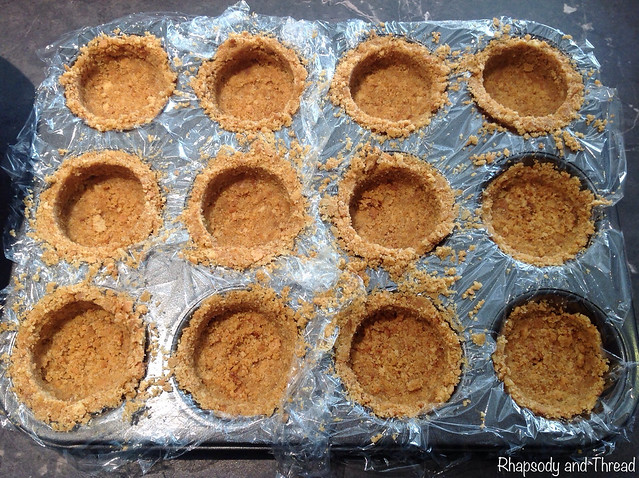
3. Divide the mixture among the prepared muffin holes. Press mixture into each well forming a small cup.
I used a spoon to get the mixture up the sides and then found a very technical piece of equipment to squash and make a perfect cup --> a Nurofen For Kids 200ml bottle (most households would have one ;o)
4. Place in freezer to chill while preparing filling.
Instructions For The Filling:
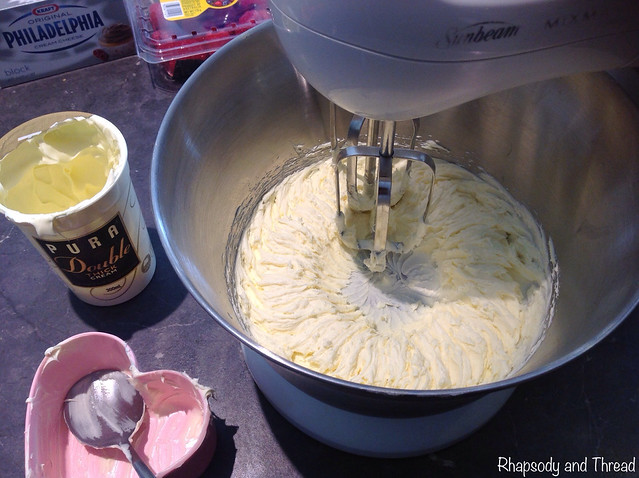
1. In an electric mixer fitted with the whisk attachment, beat the heavy cream on medium-high speed until medium-stiff peaks form.
I (sniff) don't have a fancy mixer with whisk attachment (sniff) but my trusty little K-Mart mixer did the job - and it didn't take long to get the stiff peaks (remember it's double cream and already quite thick).
2. Transfer whipped cream to another bowl and set aside.
3. Return mixer bowl to mixer, switch to paddle attachment and beat the cream cheese, creme fraiche, and icing sugar on medium speed until combined.
Again, I didn't have a paddle attachment. My mixer did the job just fine.
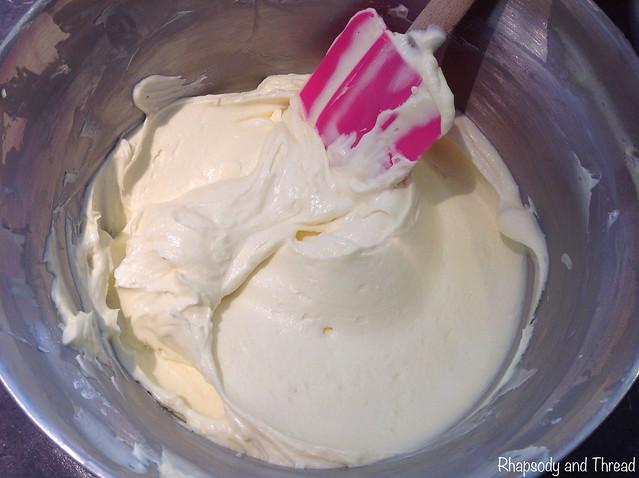
4. Gently fold whipped cream into the cream-cheese mixture until combined.
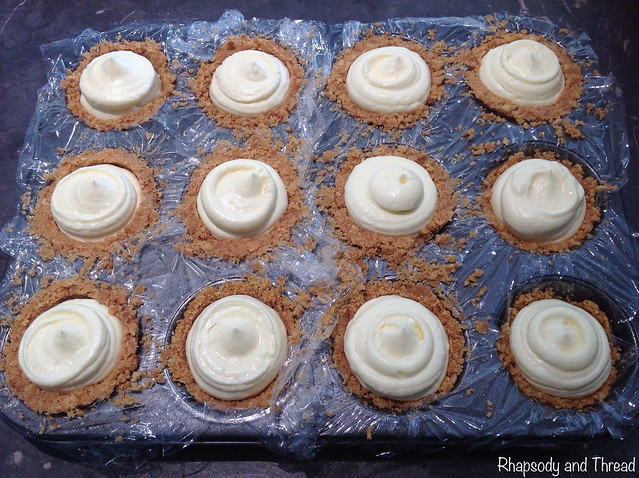
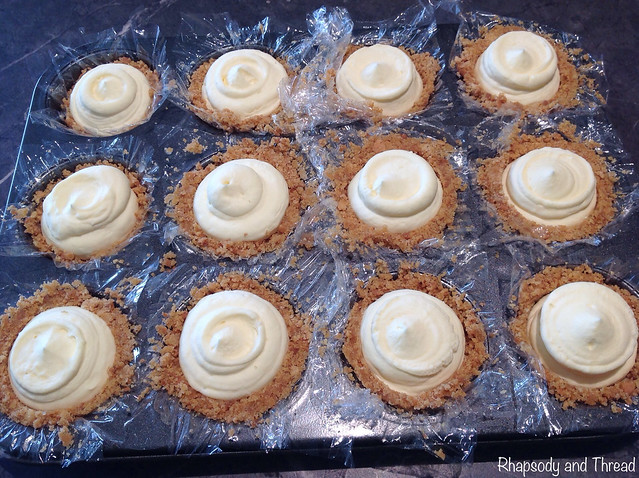
5. Spoon filling in to crusts and freeze until firm, about 30 minutes.
I found the biscuit base to be quite delicate, so I piped the mixture evenly in to the wells without disturbing the walls. If you don't have piping equipment, you can improvise by filling a snaplock bag and cut the tip off when you're ready to pipe. As you can see, they don't have to be perfect. Remember they are covered in raspberry sauce and topped with a fresh raspberry. And no one will care when they taste how delicious they are.
6. While the cheesecakes are chilling, prepare the raspberry sauce.
Instructions For The Raspberry Sauce:
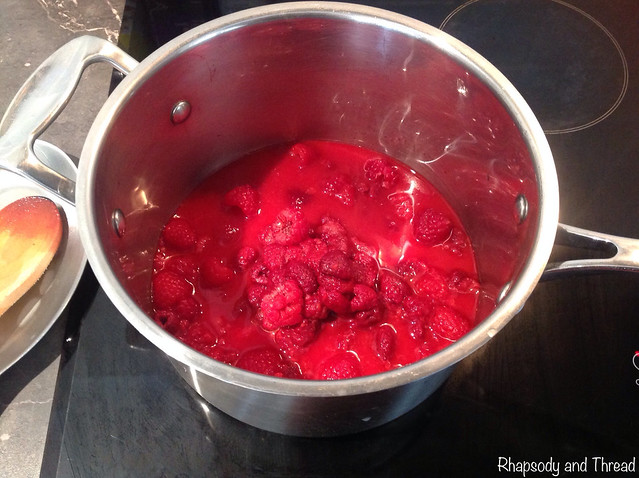
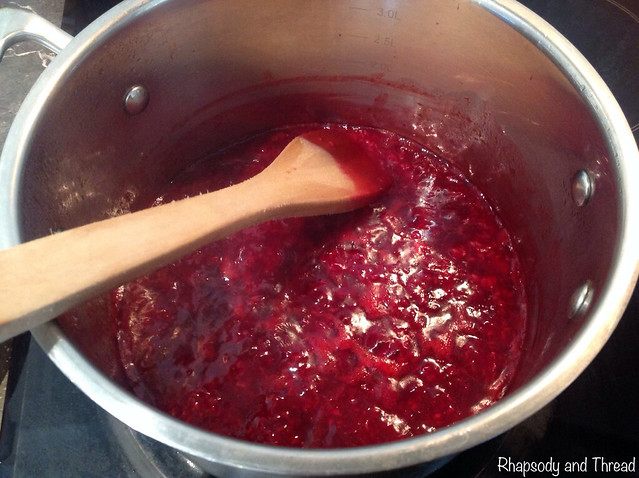
1. In a small saucepan, combine the cornflour, sugar and water.
2. Add the raspberries and cook over medium heat.
3. Stir constantly until the mixture boils.
4. Once boiling, cook and stir for one additional minute.
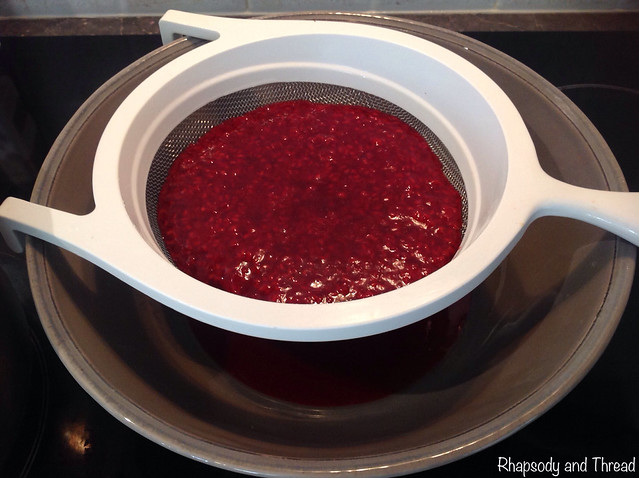
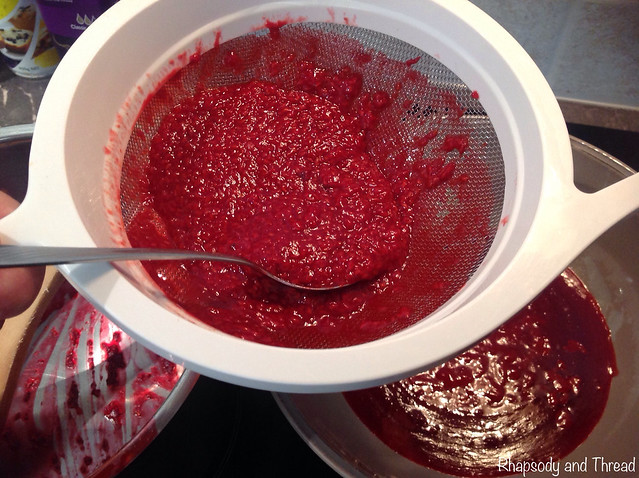
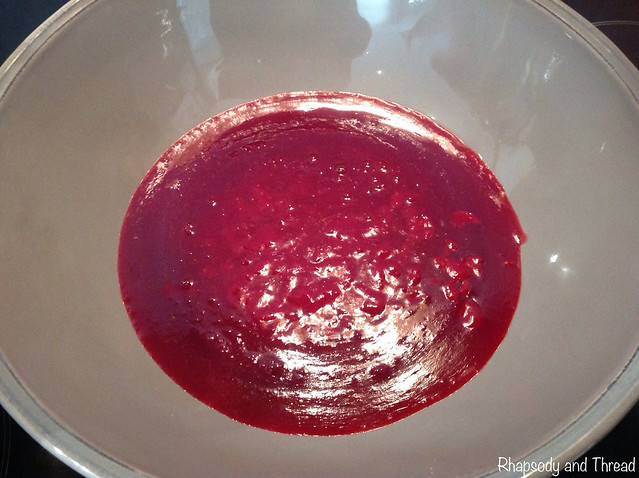
5. Strain the sauce through a fine mesh sieve placed over a bowl to remove seeds.
6. Cool to room temperature or chill in refrigerator until ready to serve.
Instructions For Decorating:
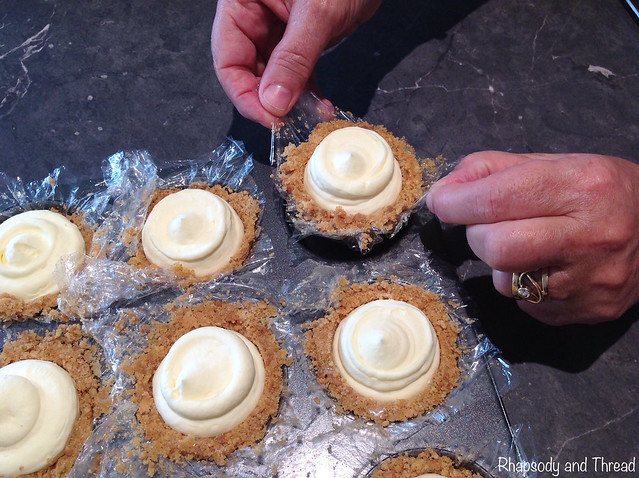
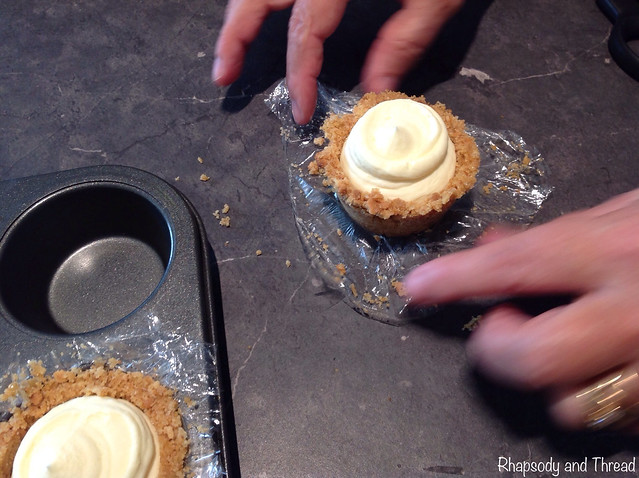
1. Remove cheesecakes from muffin tin by gently pulling up on the plastic wrap.
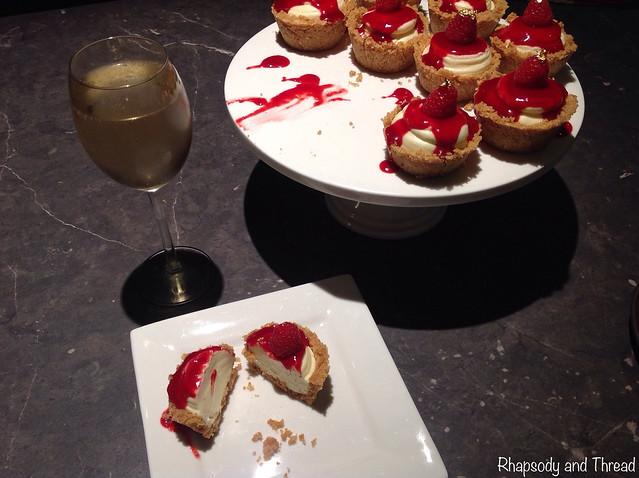
As you can see by the next photo, I cut channels around each of the cheesecakes to make it easier to lift them out.
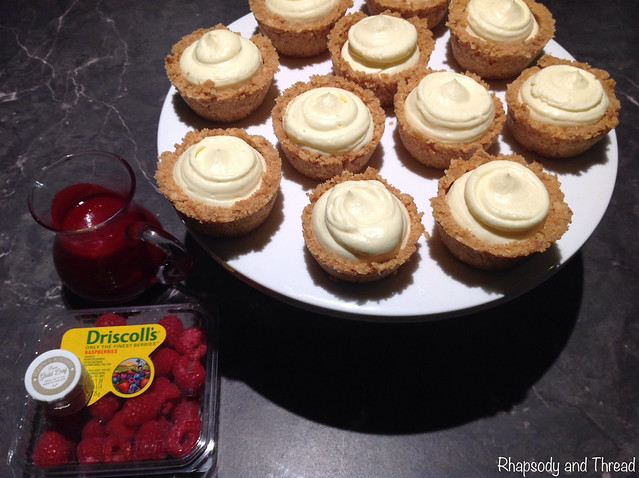
2. Remove from plastic and drizzle with raspberry sauce.
3. Garnish with fresh raspberries, as desired.
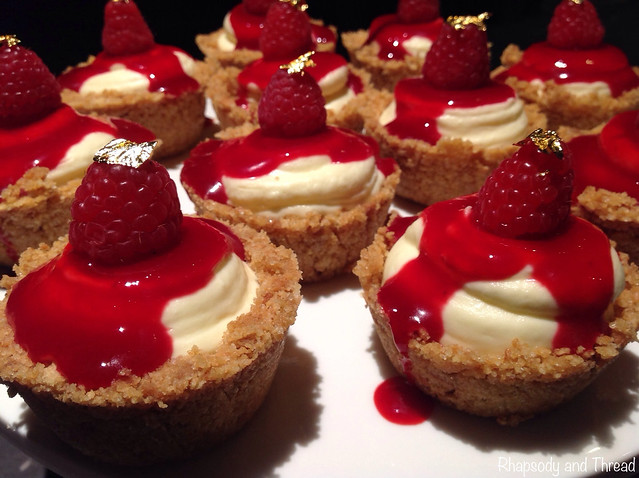
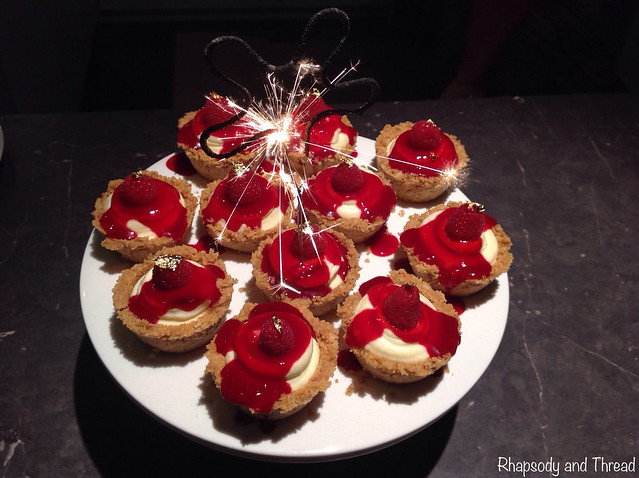
I loved the look of the fresh raspberries poked on top after the sauce. I also added a smidge of edible gold leaf for a bit of sparkle. That stuff is interesting to work with so have tweezers ready ;o) Trust me.
Yum, Yum, Yum.
These desserts are a great idea if you're entertaining a lot of people, because the cheesecakes can be made the day before.. The transfer them to the fridge a few hours before the party and let them sit in the fridge until you're ready to serve. Then just drizzle with sauce and top with a raspberry. It takes no time at all.
Easy to make. Easy to Serve. Even better the next day.
Give them a try.




No comments:
Post a Comment