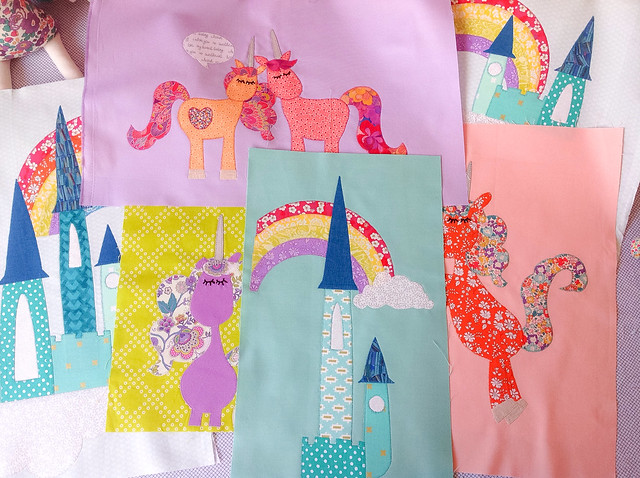
I can't explain how thrilled I am to see how this border worked out! I'm a terrible procrastinator at the best of times - but that's when I have lots of great options and I can't pick my favourite. This time, I couldn't find a single print that I liked! I found the blocks to be so busy and colourful that nothing seemed to match. And my other battle was that I had originally planned on making Isla a more pastel/quieter quilt compared to her last rainbow triangle quilt. I fell in love with the gorgeous border on Claire's original - it's a white fabric with tiny grey dots. See it here. Claire had used it throughout the quilt blocks and then on the borders, and it balances the design so beautifully. I followed the same direction using a white with grey words in the same blocks, but it just didn't work as a border!
So, I ditched my pastel ideas and chose that stunning Plummy Metallic print by Cotton And Steel, purchased from Carols of Midland. It is the opposite of pastel, don't you think? I can't help myself, and it just looks perfect in her room against her Liberty bedhead (see first pics above).
Useful Links
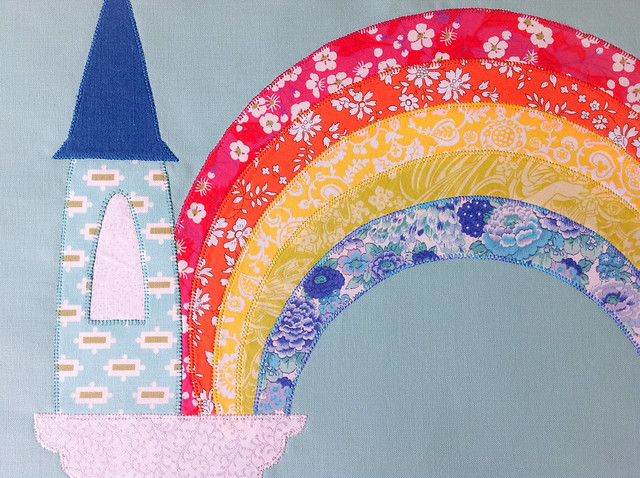
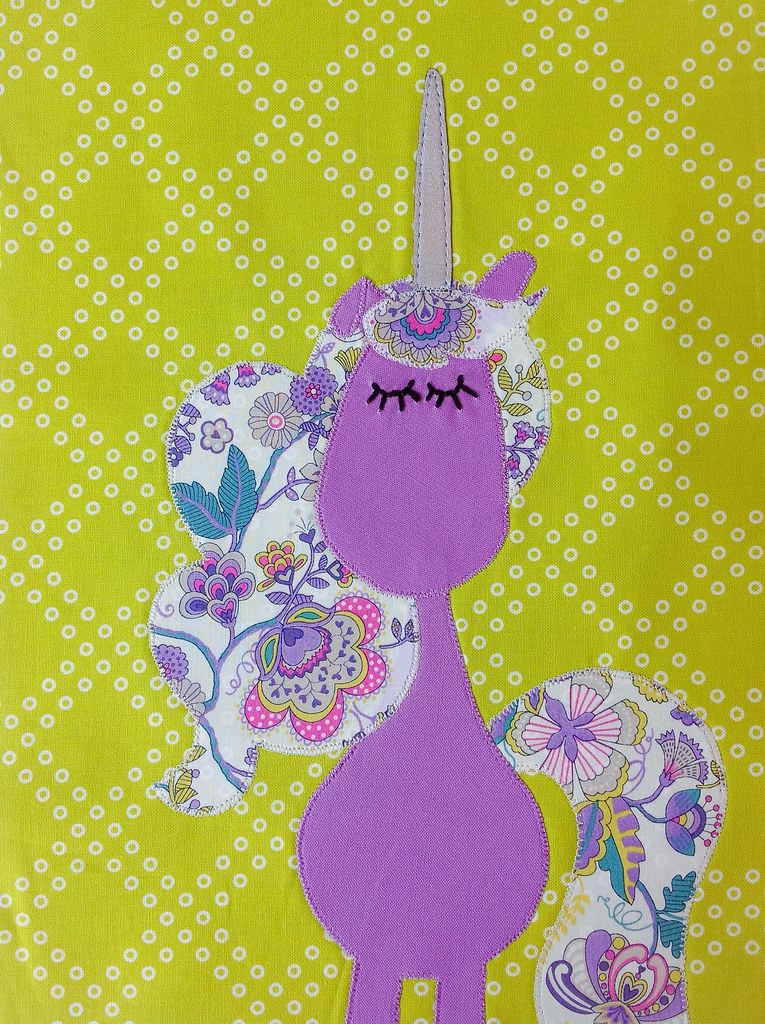
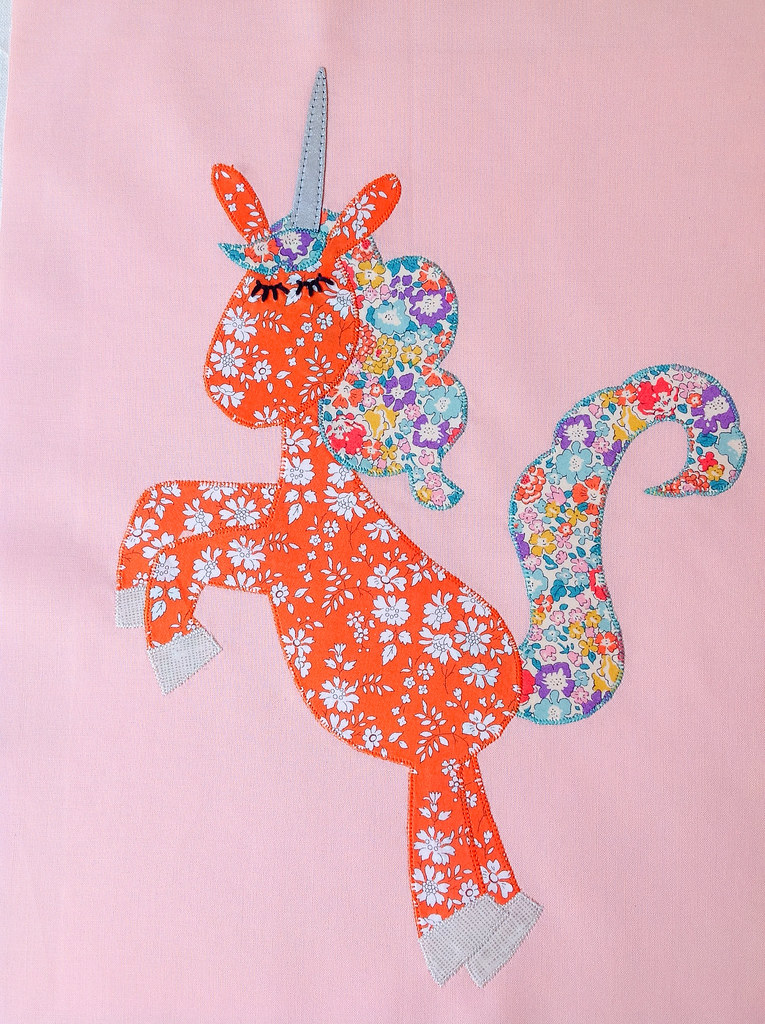
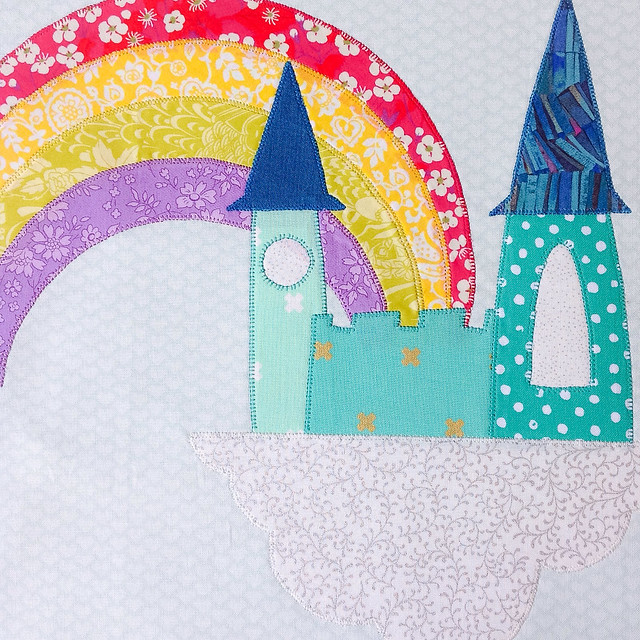
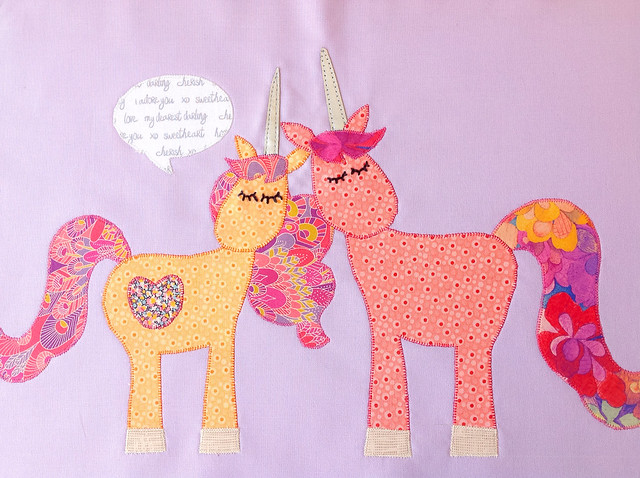
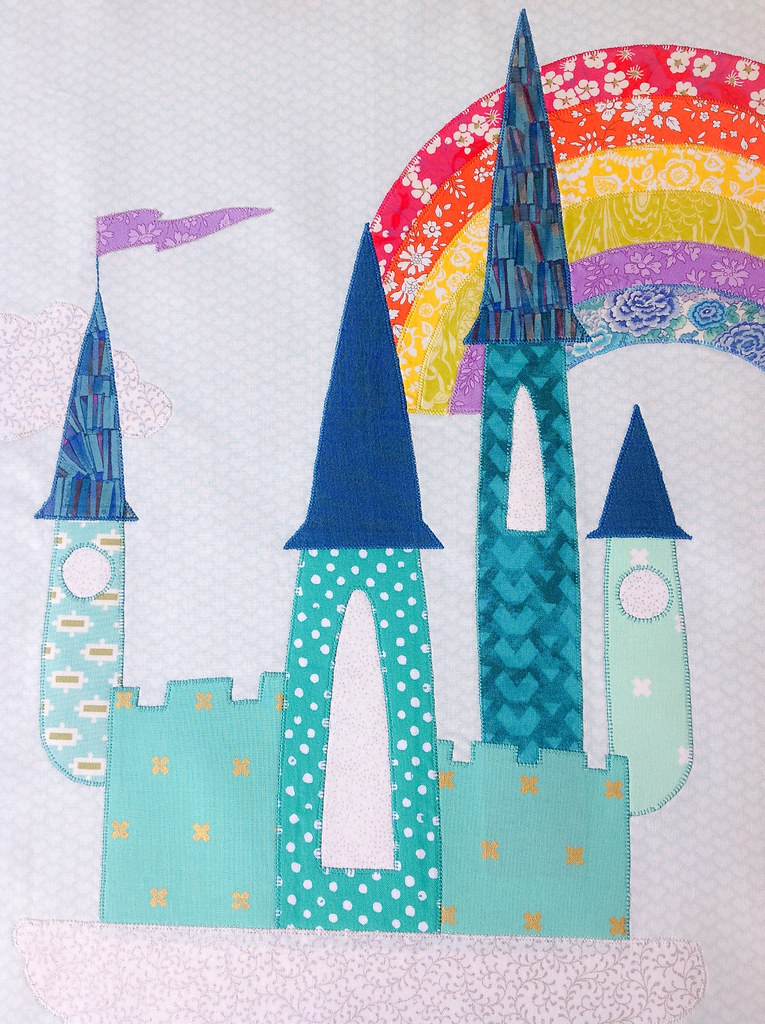
Unicornia Quilt Pattern by Claire Turpin Designs
Fabrics from Carols of Midland
Liberty fabrics from The Strawberry Thief and Materialise Your Life
Rhapsody Dolls from Rhapsody and Thread
Polka Dot Cloud pillow from Kmart
Unicorn Painting by Courtney King
Dream Even Bigger banner by Zilvi
Liberty Bow Garland by Rhapsody and Thread
Unicorn banner by Little Olive and Co
Mirror Name by Arlo and Co


![Closeup of rainbow and unicorn appliquw]](https://blogger.googleusercontent.com/img/b/R29vZ2xl/AVvXsEhHRr-qxnWYYaZ70RzOsKCFIGnk-w5AM3fsNvYjtuIa9yd4OnSOLvcep4NN2HHJ7vRe9vzbvmgfQtK8_U2Nf5l8Y2XYwRYxOwoSHLBAKqMv8gs4xk9joANxZalH3LzXaP3dW8gLNuQkXpY/s2048/Photo%25252020160115141914167.jpg "Unicornia Quilt Blocks || Pattern by Claire Turpin Designs")