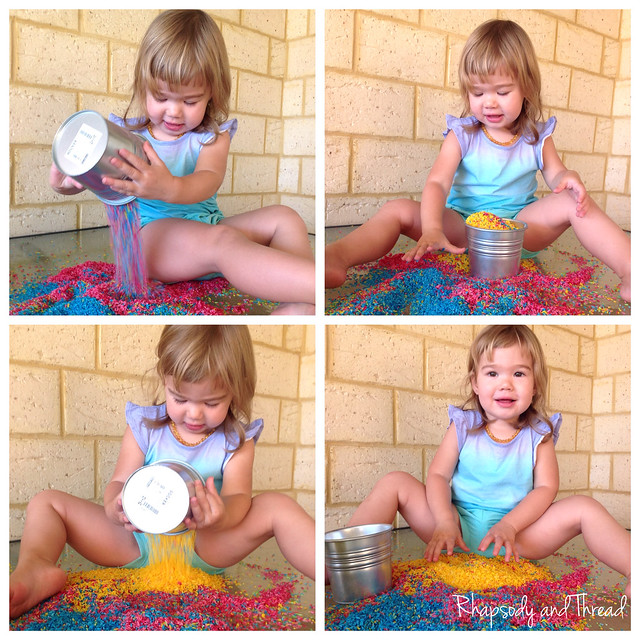
Wednesday, 16 April 2014

Home Cooking With Mum --> Hot Cross Buns Tutorial

Have you ever made your own hot cross buns? Well, neither have I! I'm actually not a huge fan because of the fruit... yes I'm still like a fussy child :oP I don't like fruit in my yhogurt or my muffins, and certainly not in my hot cross buns. But! Mum has been raving about her hot cross bun recipe and Justin loves hot cross buns, so we decided to make them.

Here is how we went!

Utensils List

Bowls
Measuring cups/spoons
Cooking utensils (inc. pastry brush)
Sieve
Glad wrap and tea-towels
Small saucepan
Silicone mat (not required - bench is fine)
Piping bag (not required - any small plastic freezer/snaplock bag would work)

Ingredients List
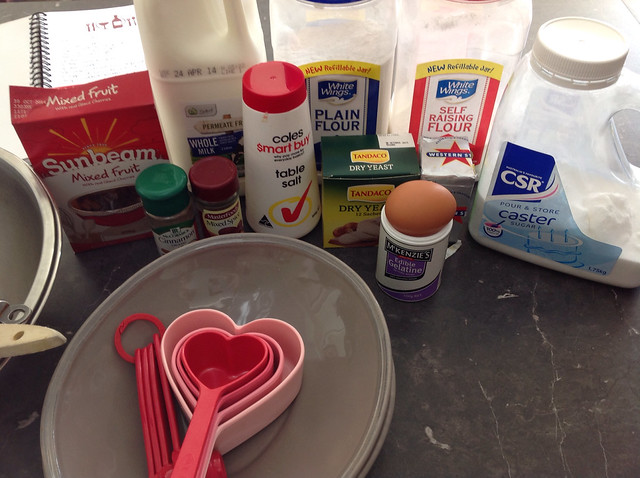
Hot Cross Buns Tutorial by Rhapsody and Thread
Ready for action
For the buns:
1 ½ cups milk
7g sachet dried yeast
⅓ cup castor sugar
3 ½ cups plain flour
2 tsp cinnamon
1 tsp mixed spice
½ tsp salt
1 ½ cups dried mixed fruit
1 egg (at room temperature and lightly beaten)
50g melted butter

For the cross:
⅓ cup self-raising flour
¼ cup water

For the glaze:
½ cup water
⅓ cup caster sugar
1 tsp powdered gelatine


Instructions For The Buns:

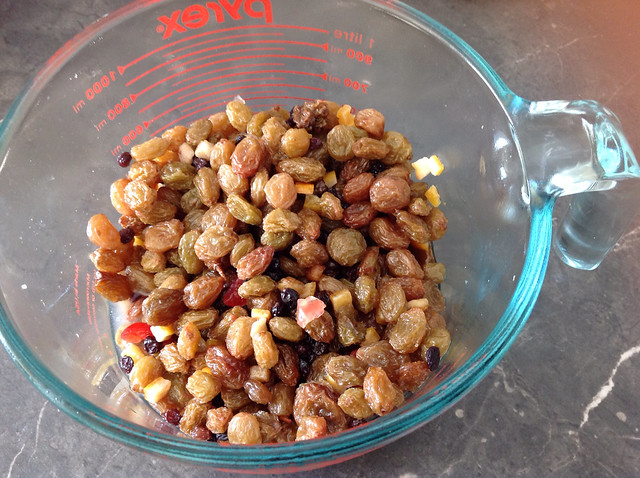
1. Cover the dried mixed fruit with water in a bowl to soak for 1 hour (or until they are plumped up).
Hot Cross Buns Tutorial by Rhapsody and Thread
Plumped up mixed fruit after being soaked for an hour

Mum really wanted to drown them in rum but thought maybe it wouldn't be a good idea...

2. Heat milk to lukewarm, remove from heat, pour in to a large bowl.

I didn't know that it's important not to overheat the milk because hot milk will kill the yeast and those little soldiers have work to do!

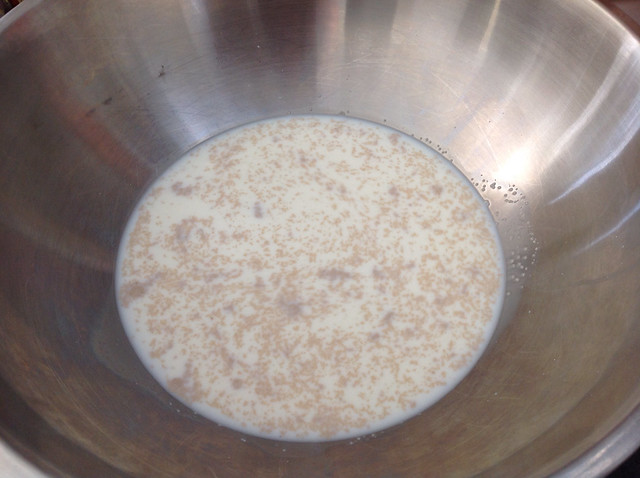
3. Add the yeast and 1 tbsp of the sugar (not all the sugar!!).
Hot Cross Buns Tutorial by Rhapsody and Thread
Milk, yeast and sugar mixture

4. Cover with glad-wrap and place in a warm spot (out of reach of little fingers) for 20 minutes (or until frothy).

Hot Cross Buns Tutorial by Rhapsody and Thread
Soaking up some rays

5. While that's frothing, get the rest of the ingredients ready - like melting the butter and beating the egg.

6. Sift the flour, spices and salt into a large bowl.
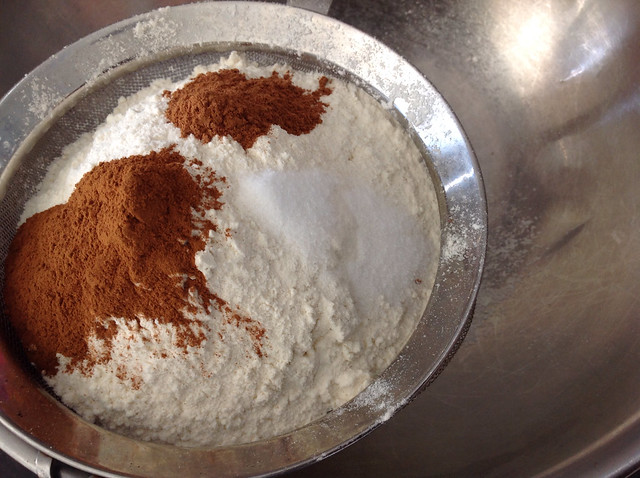
Hot Cross Buns Tutorial by Rhapsody and Thread
Shake it

7. Once the milk mixture is frothy, add the melted butter and lightly beaten egg.
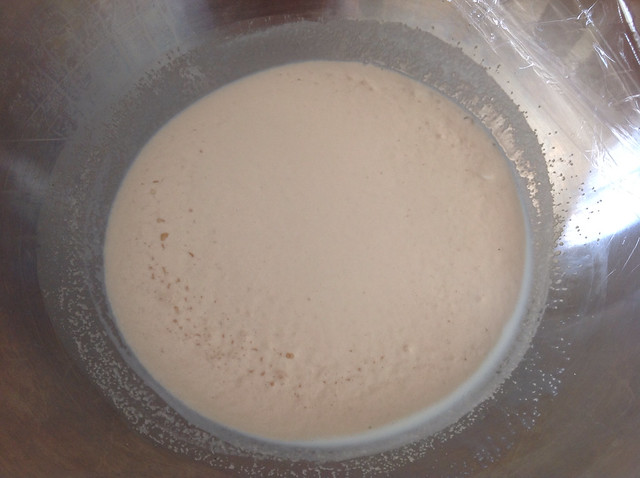
Hot Cross Buns Tutorial by Rhapsody and Thread
This is what the milk mixture will look like once the yeast has activated

Now we are ready to combine everything!

8. So add the remaining sugar to the flour mixture. Stir.

9. Next drain the mixed fruit and stir in.
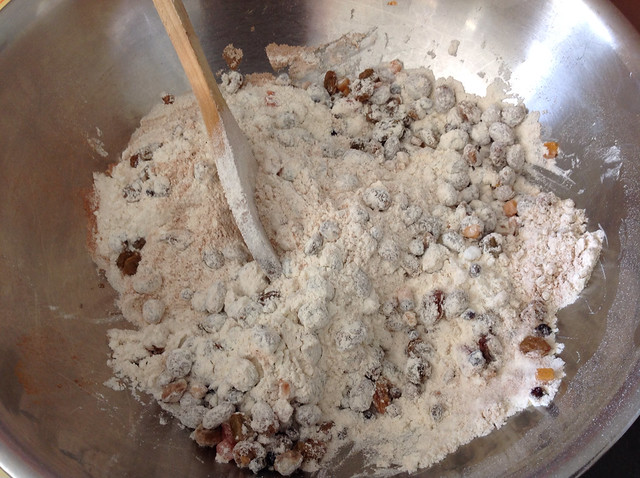
Hot Cross Buns Tutorial by Rhapsody and Thread
Ready for the milk mixture

10. Finally, stir the milk mixture in gradually until a dough forms.
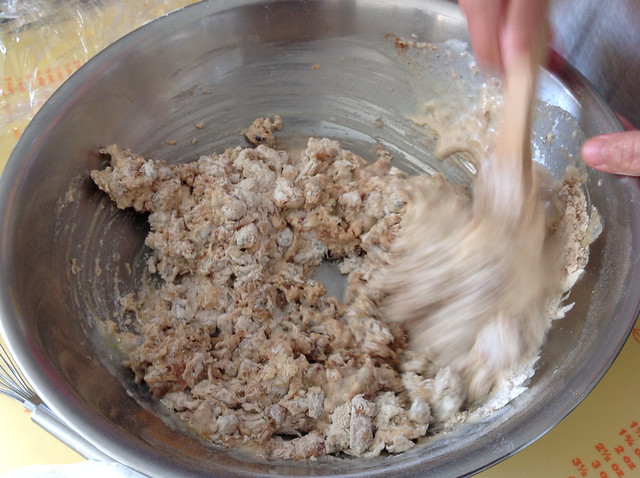
Hot Cross Buns Tutorial by Rhapsody and Thread
Mix it all up

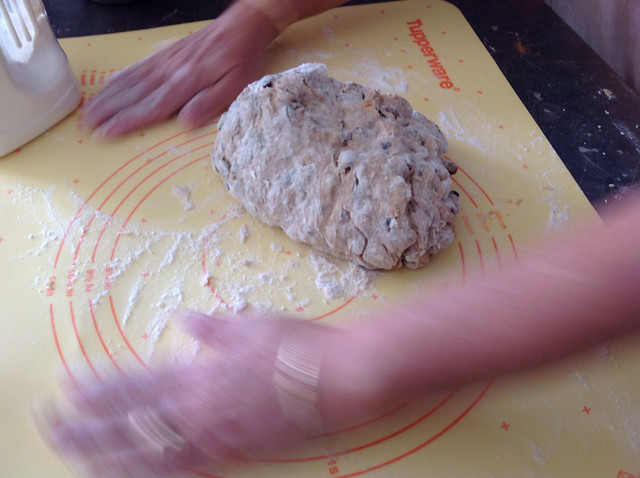
11. Turn out and knead until smooth and elastic (approx. 6 mins)

Mum dug out her Tupperware silicone mat to knead the dough on - but you can do it on the bench ;o)
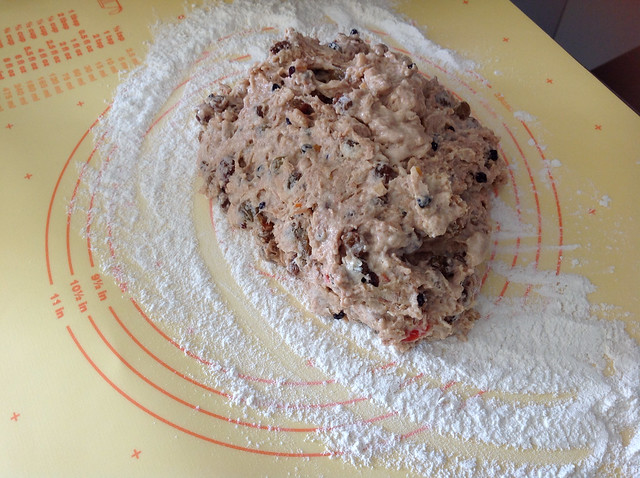
Hot Cross Buns Tutorial by Rhapsody and Thread
Splat
Keep the surface and your fingers lightly floured to reduce the stickiness of the blob.
Eck glad it's not me doing that :oP
Hot Cross Buns Tutorial by Rhapsody and Thread
Eck glad it's not me doing that :oP
Keep dusting and kneading the blob.
Needs more kneading
Hot Cross Buns Tutorial by Rhapsody and Thread
Needs more kneading

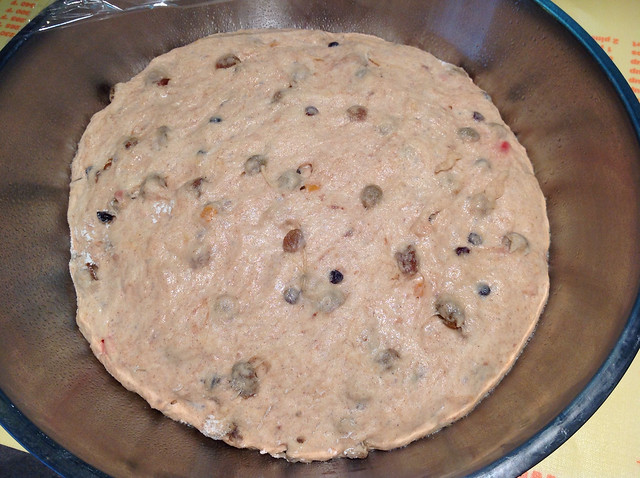
12. Place in a large oiled bowl and turn dough around in bowl to coat it in oil.
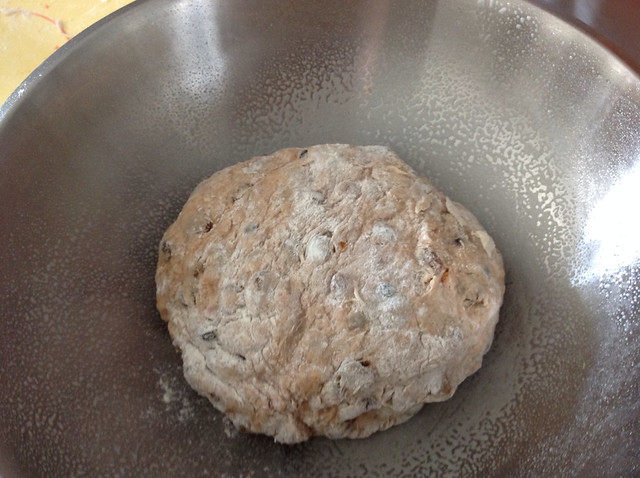
Hot Cross Buns Tutorial by Rhapsody and Thread
Ready to get rising

We spray-coated our bowl and just sprayed the dough once it was in the bowl.

13. Cover with plastic and place in a warm spot again for 1 hour (or until doubled in size).

Hot Cross Buns Tutorial by Rhapsody and Thread
I went and chased Isla around the yard in her new harem pants for a photo
Hot Cross Buns Tutorial by Rhapsody and Thread
This is the 'risen' result

14. Now that the dough has risen, punch it down (literally) and turn it out onto your floured work surface.

Hot Cross Buns Tutorial by Rhapsody and Thread
Punch it!

15. Knead for 3 minutes (or until smooth and elastic).
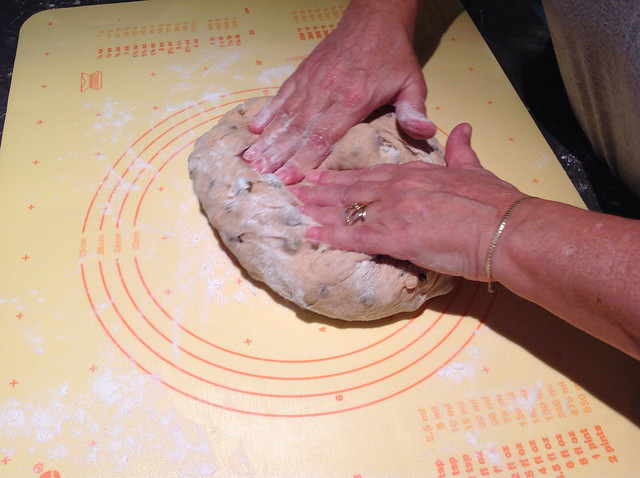
Hot Cross Buns Tutorial by Rhapsody and Thread
More kneading
Hot Cross Buns Tutorial by Rhapsody and Thread
Logan was trying to help
Hot Cross Buns Tutorial by Rhapsody and Thread
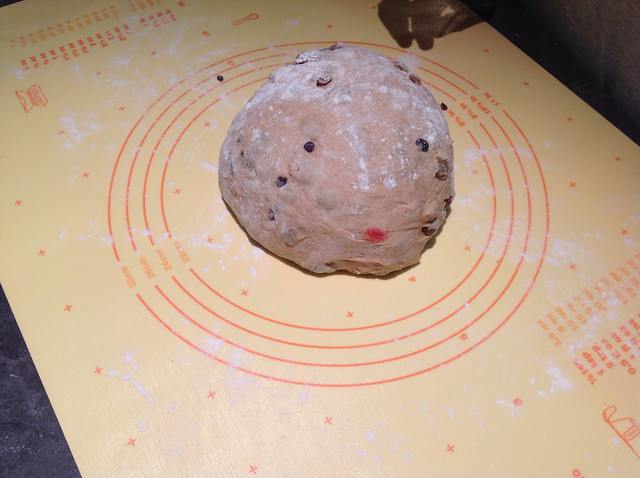
Ready for shaping

It was a bit sticky so mum added a bit of flour to her hands in the kneading process.

16. Shape into a 14cm x 24cm rectangle.

17. Cut lengthways into 3 even pieces.
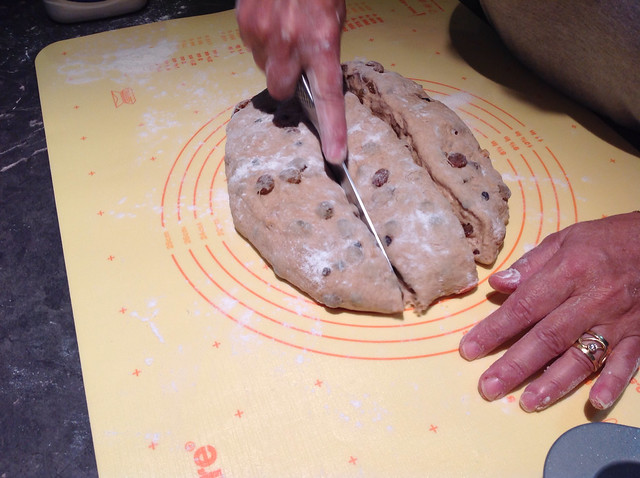
Hot Cross Buns Tutorial by Rhapsody and Thread
Cut 12 portions

18. Then cut each length into 4.

19. Shape pieces into tall squares or balls.
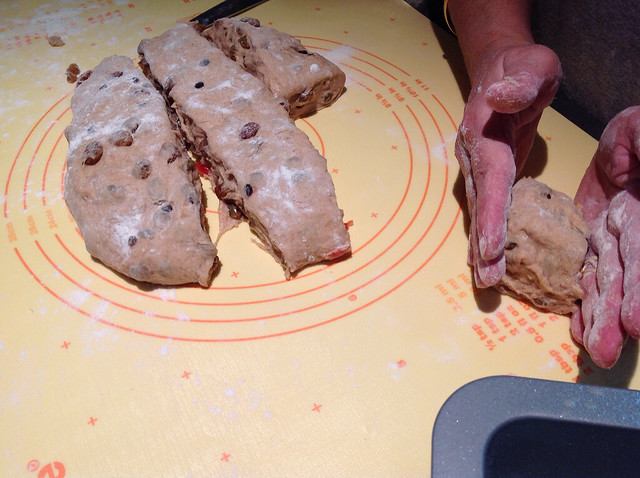
Hot Cross Buns Tutorial by Rhapsody and Thread
Shape the buns with your hands

20. Place each bun 1cm apart into a lightly greased lamington pan.
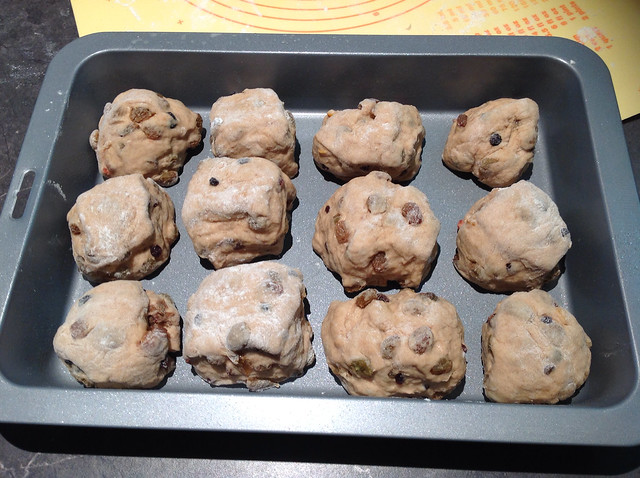
Hot Cross Buns Tutorial by Rhapsody and Thread
Rise little buns, rise!

21. Cover with a clean tea towel and set aside in a warm place for 20 minutes.

They will rise again and hopefully join up.
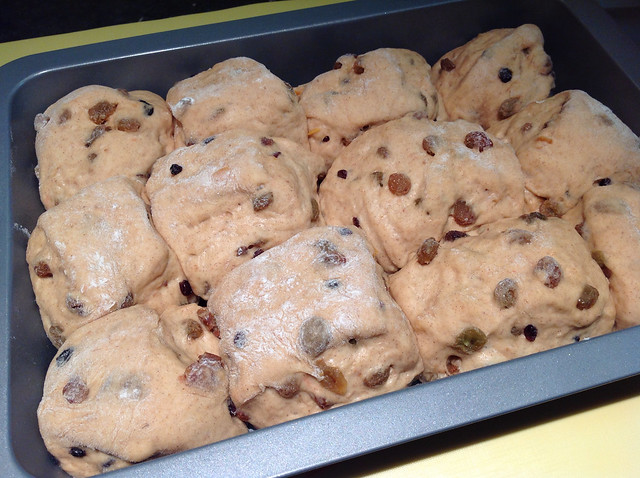
Hot Cross Buns Tutorial by Rhapsody and Thread
Joined up - and looking rather squishy!

Whilst that's happening, make the cross mixture.

Instructions for the Cross:

1. Whisk flour and water together to form a paste.
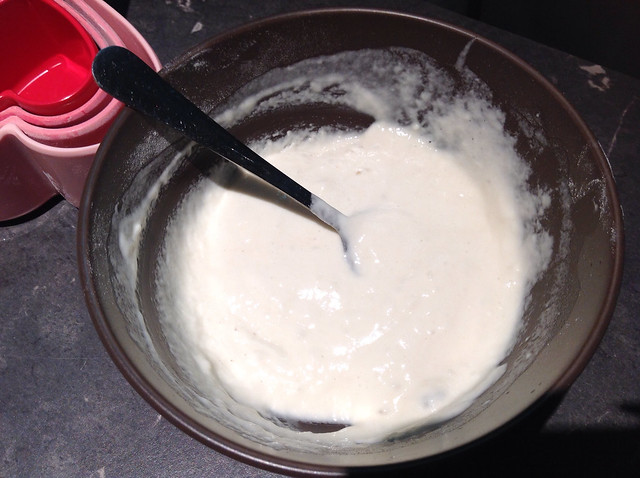
Hot Cross Buns Tutorial by Rhapsody and Thread
The cross mixture

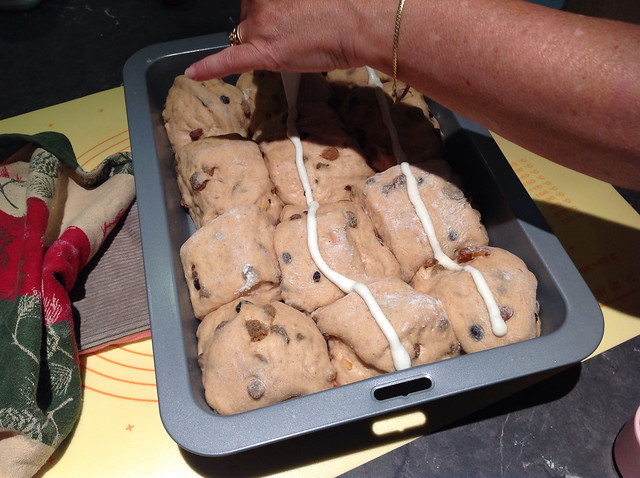
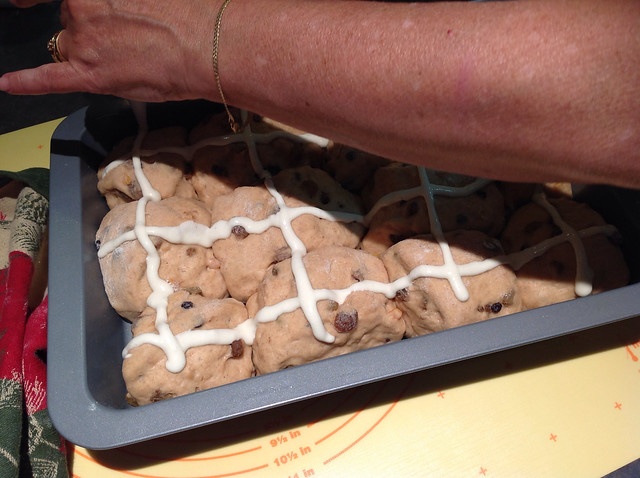
2. Scrape into a piping bag (or snaplock bag and cut the tip off) and pipe 3 long strips across the buns and then 4 strips down the buns. Make sense?
Hot Cross Buns Tutorial by Rhapsody and Thread
Crossing the buns
Hot Cross Buns Tutorial by Rhapsody and Thread
Ready to pop in the oven

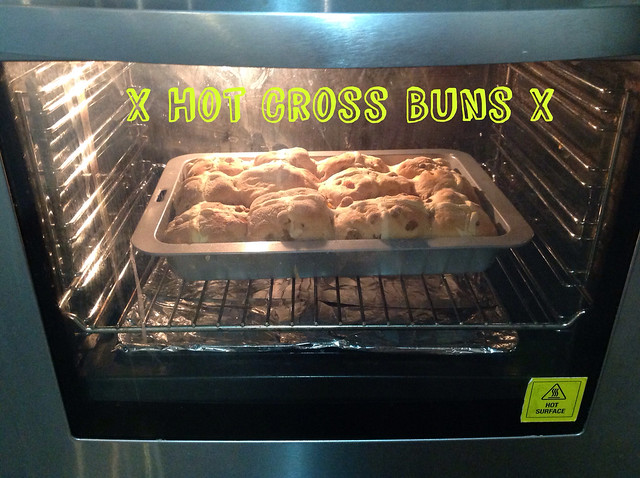
3. Pop tray in a hot oven (200C) for 10 minutes.

4. Then reduce oven to 180C and cook for another 20-25 minutes (or until golden and cooked through).
Hot Cross Buns Tutorial by Rhapsody and Thread
Smells amazing

5. Stand 5 minutes.

Hot Cross Buns Tutorial by Rhapsody and Thread
Hot buns fresh out of the oven

Whilst you're waiting, make the glaze.

Instructions for the glaze

1. Place water, sugar, and gelatine in a saucepan over low heat.

2. Stir until sugar and gelatine dissolve. Remove.

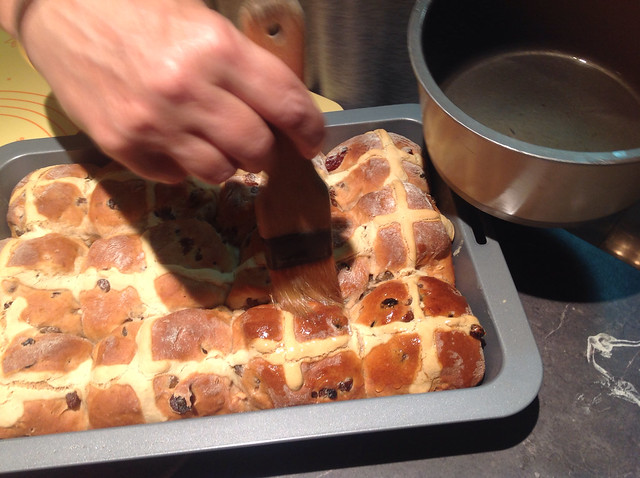
3. Brush tops of warm buns with glaze.
Hot Cross Buns Tutorial by Rhapsody and Thread
Glazing is so simple

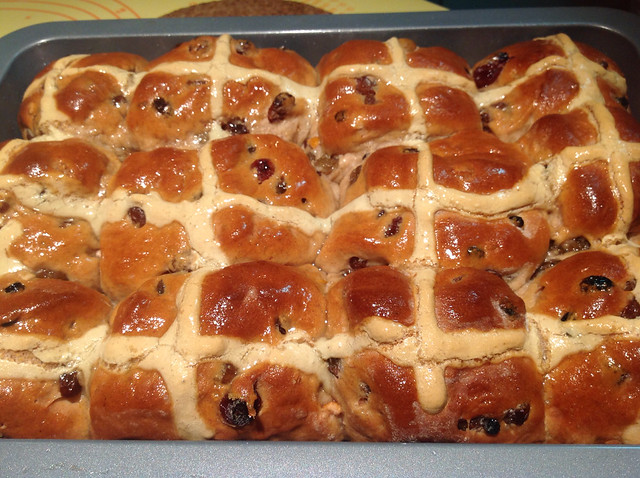
I asked mum what the gelatine is for and she said it gives the buns their glossy shine.
Hot Cross Buns Tutorial by Rhapsody and Thread
Glossy and ready for butter-smothering

4. Let them cool and pop them out to either smother in butter and devour or freeze for Easter weekend!

Happy Easter <3 <3 <3

Tab

#Easter, #Hotcrossbuns, #Easterfood, #Cookingtutorial, #Yum, #Cookingwithmum

 

Monday, 7 April 2014

My Craft Space

I feel a bit guilty really, because I'm sitting here with a hot coffee when I should be doing so many other things. We've all been very sick over the last couple of days and last night it was Isla's turn to be vomiting every couple of hours... awful is all I can say. It was an awful night. So I'm trying to wash the many sheets and towels and clean the house and wipe everything I go past. I'm absolutely knackered and I've never hated the smell of Glen 20 more than I do now. But I'm desperately trying to avoid Logan catching the bug we've had. I don't think I could handle another night of no sleep, puke-covered beds and horribly upset babies.

Anyway, on a brighter note I found this morning that my Facebook page had reached 100 likes. I've been excited watching the number slowly crawl up. And I've been planning a giveaway competition-type event to mark the occasion. I even got some gorgeous Acacia Raccon-print fabric in pink and blue to make harem pant sets. Now I just have to find the energy to make them!

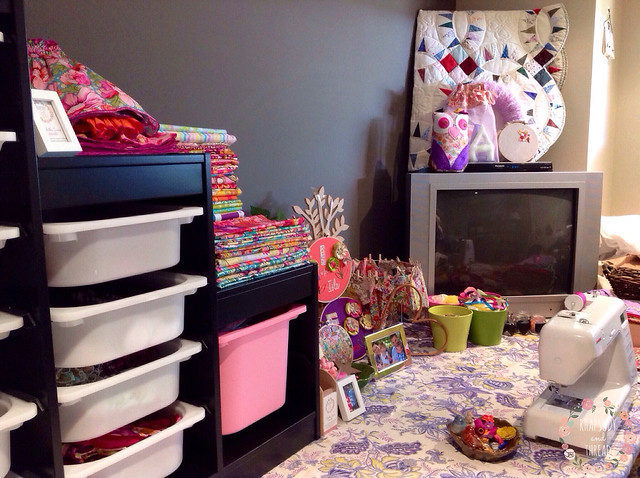
Instead, I'm just going to sit here with my coffee and share with you some photos of my craft room that I took last week. I had a tidy up - I can't work in mess - so that I could start fresh... until we all got struck down with this awful bug. But at least I have a nice clean work space to come back to when I'm ready.


My Craft Space by Rhapsody and Thread
My desk
My Craft Space by Rhapsody and Thread
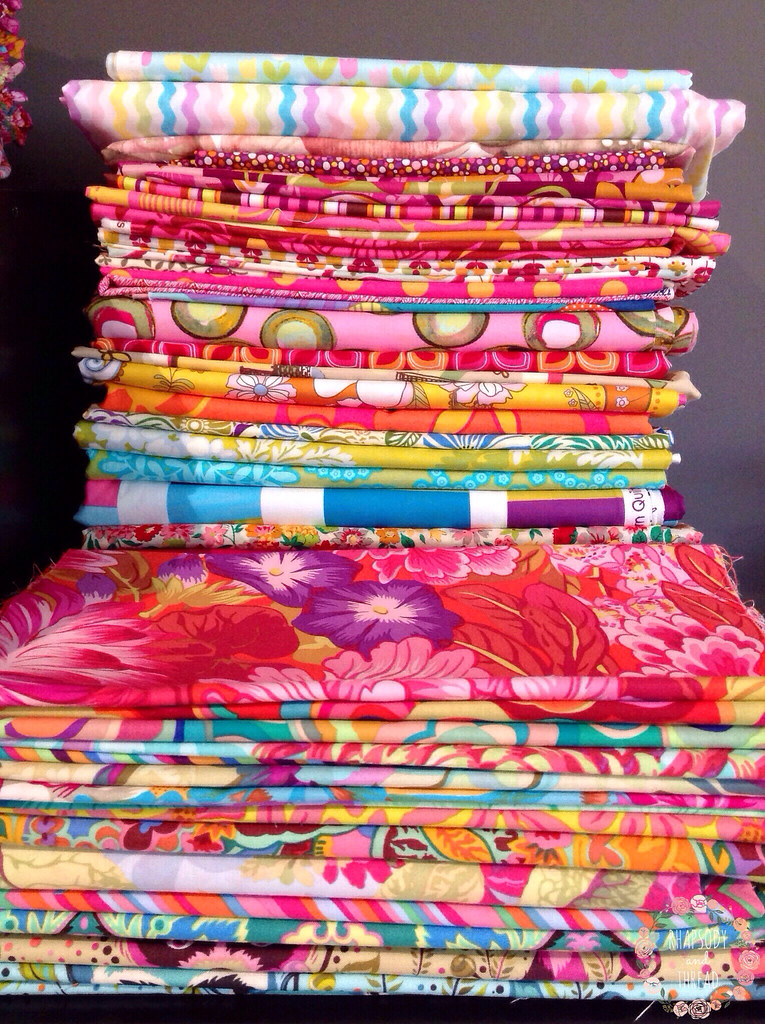
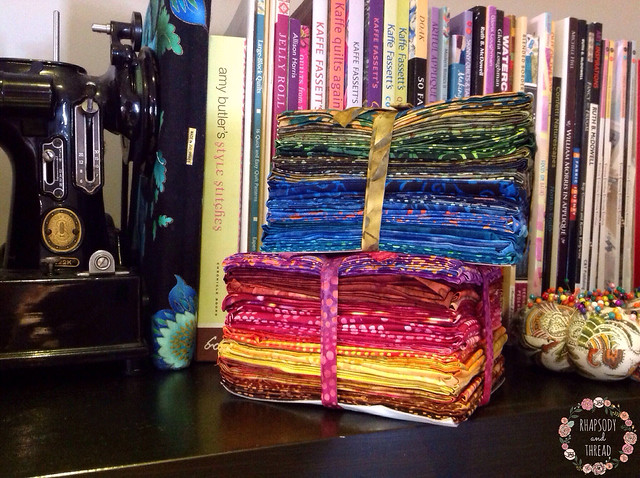
My fabric stash - so bright and colourful!
My Craft Space by Rhapsody and Thread
The view from my sewing machine
My Craft Space by Rhapsody and Thread
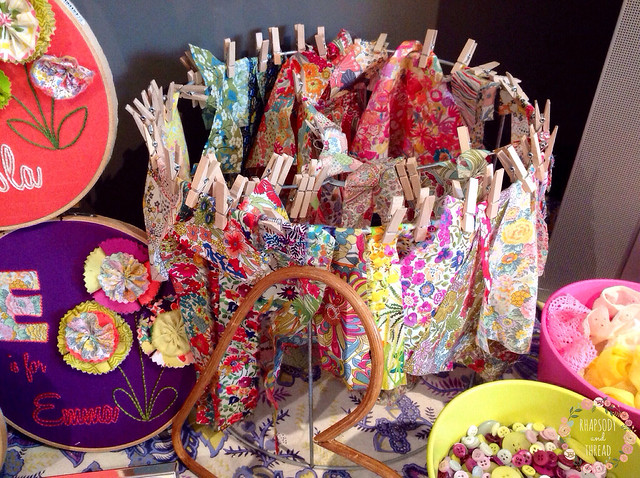
My Liberty fabric scrap wheel
My Craft Space by Rhapsody and Thread
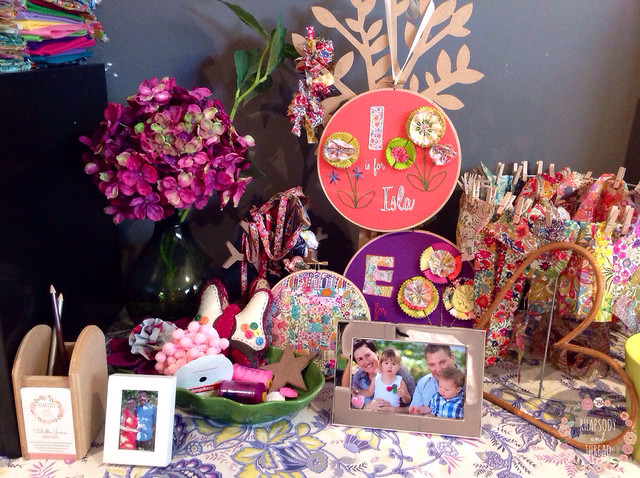
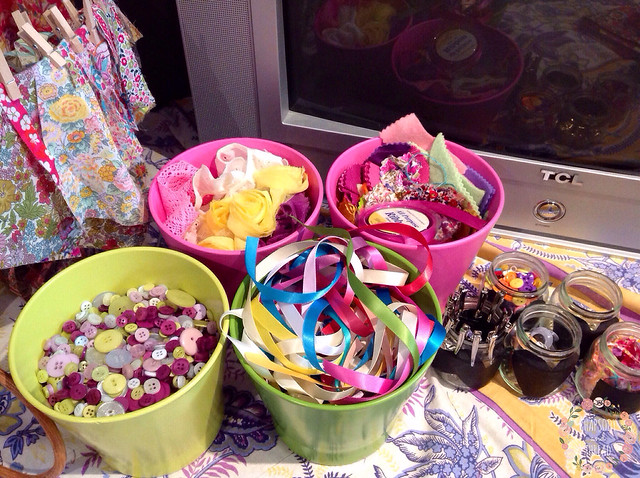
My embellishments corner - buttons, ribbons, lace, flowers... lots of fun.
My Craft Space by Rhapsody and Thread
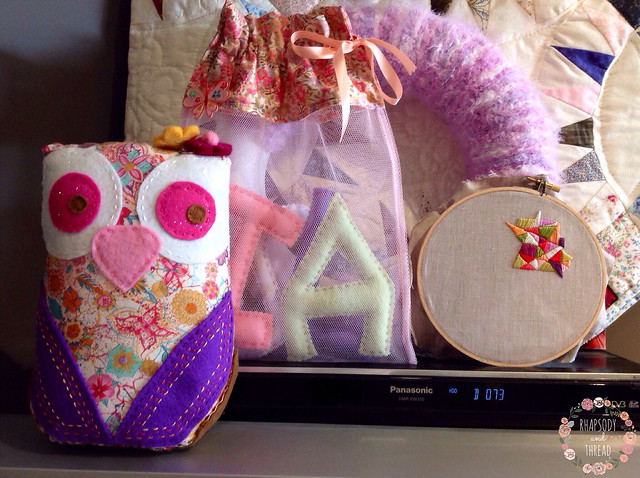
Some past projects.
My Craft Space by Rhapsody and Thread
Hidy-holes full of goodness
My Craft Space by Rhapsody and Thread

Time to start messing it all up again I think. I've got some harem pants to make!

Tab xxox


Tuesday, 1 April 2014

Tutorial Tuesday --> Make Rainbow Coloured Rice In 3 Easy Steps!

Tutorial Tuesday --> How To Make Rainbow Coloured Rice In 3 Easy Steps! By Rhapsody and Thread

I just knew that Isla would love something like rainbow rice. She is such a busy beaver and loves playing with containers and water and most things she shouldn't. And rice would normally fit into that category - you know the category of "get out of the pantry, there is nothing in there for you!". But I must admit that rice is pretty harmless and although usually very messy like sand (I hate sand) - when coloured like a rainbow, I'm suddenly not as concerned about the mess!

Who doesn't love a rainbow mess?

So I thought I would make a huge batch to play with AND use in pots as table decorations at the kids double birthday bash! I got help from this great blog: Learn With Play At Home. The link is here.

I followed the ratio of 1 tbsp vinegar to 1 cup of rice, and even the advice of doing a mass batch of 4 tbsp vinegar plus 4 cups rice. But there wasn't a suggestion about how much food colouring, so I'm sharing mine.

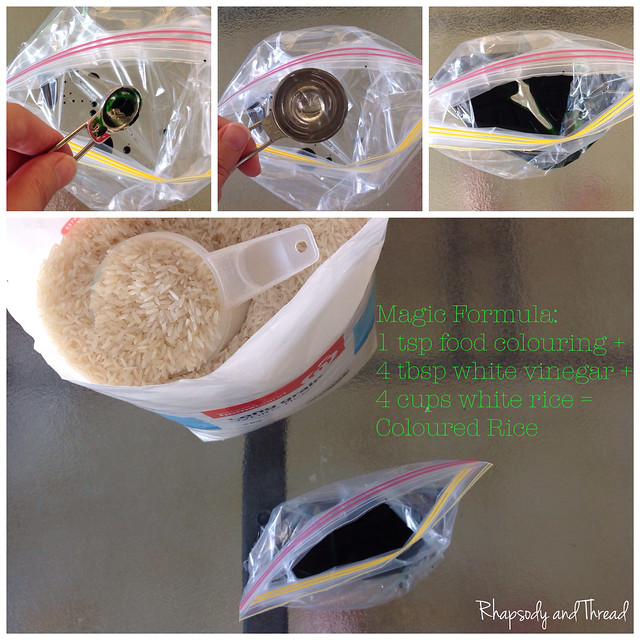
My magic formula is: 1 tsp colour + 4 tbsp white vinegar + 4 cups white rice = coloured rice!

I was going to make 5 colours, but decided to leave out the red so that the pink really stood out. So my rainbow consisted of pink, green, blue, and yellow. My inspiration was Peppa Pig - Isla's favourite tv character and the theme for the kids birthday party!

So here is my interpretation for a beautiful pot of pink/green/blue/yellow rainbow rice!

Tutorial Tuesday: How To Make Rainbow Coloured Rice In 3 Easy Steps

Tutorial Tuesday --> How To Make Rainbow Coloured Rice In 3 Easy Steps! By Rhapsody and Thread
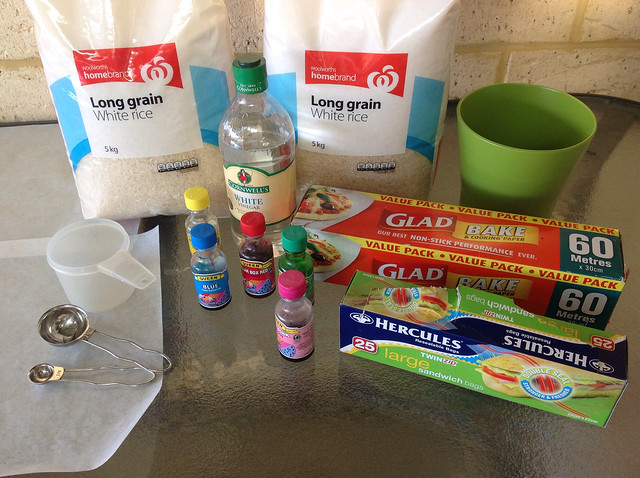
All you will need

Ingredients List:

  • Food colouring (approx. 1 tsp of each colour, and remember - bottled colour gives brighter colours than the combo packs)
  • White vinegar (approx. 4 tbsp/80ml x 4 batches = 320ml)
  • Long white grain rice (I used approx. 200g per piled-up-cup and my batches were 4 cups per colour. So 200g x 4 cups x 4 colours = .... hmmm let me ask my calculator ;oP ... 3.2kg! You might use less but a big 5kg bag of Homebrand long grain rice is only about $7 I think. And the leftovers would make a great apricot chicken casserole!

Utensils List:

  • Baking paper (wet rice can stick to other surfaces like alfoil and definitely to paper towel!)
  • Clip seal bags (the bigger the better for the bigger batches and to prevent popping colour everywhere)
  • Measuring cups and spoons (you'll need a '1 cup', a teaspoon, and a tablespoon)
  • Gloves and apron, protective glasses and a tent (I'm just kidding - but all would be very handy if you're as clumsy as me ;o)


3 Simple Instructions:

1. Combine ingredients in a clip-seal baggie.

I opened and spread a clip seal bag so that it sat open for me to just pour in the ingredients.

For each big batch of colour, I added the magic formula: 1 tsp colour + 4 tbsp vinegar + 4 cups rice.

Tutorial Tuesday --> How To Make Rainbow Coloured Rice In 3 Easy Steps! By Rhapsody and Thread

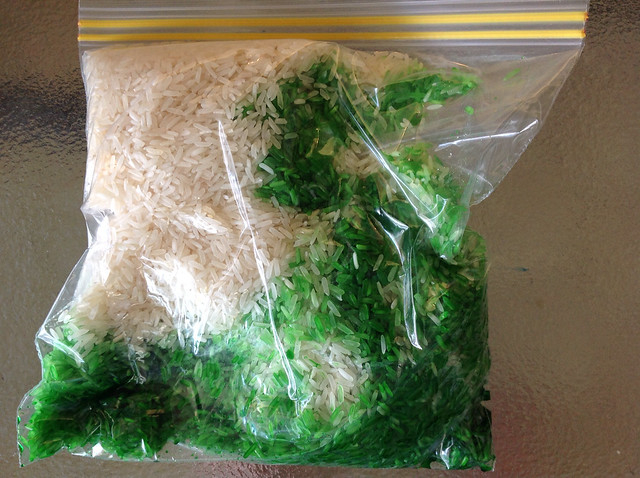
2. Seal bag well and smoosh.

WARNING: Be Gentle/Careful/Cautious!!!!!

And don't wear anything precious - or better yet, wear an apron!

I thought I was a pro and started super-smooshing and ended up with yellow rice e v e r y w h e r e !

Thankfully it was only yellow rice and I wasn't wearing anything fabulous.

Tutorial Tuesday --> How To Make Rainbow Coloured Rice In 3 Easy Steps! By Rhapsody and Thread
Smooshing in progress

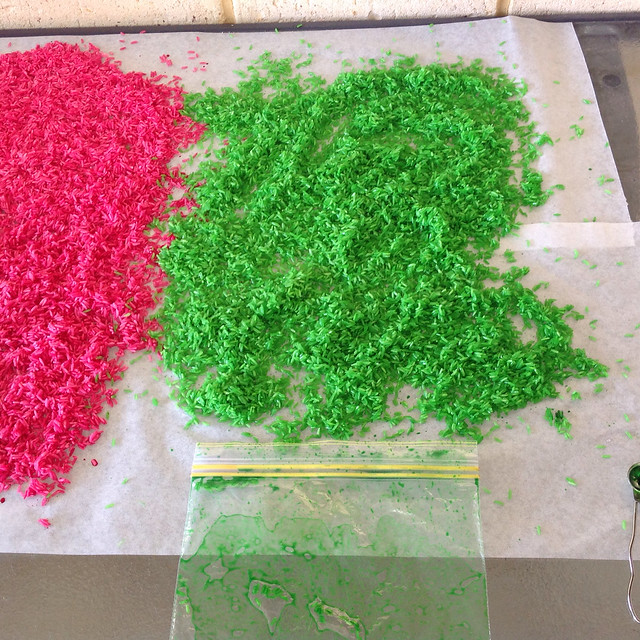
3. Pour rice out evenly on baking paper to air-dry.

Depending on the climate, the rice should only take 3-4 hours to dry but if you have time then leave each batch overnight.

Tutorial Tuesday --> How To Make Rainbow Coloured Rice In 3 Easy Steps! By Rhapsody and Thread
Drying rice

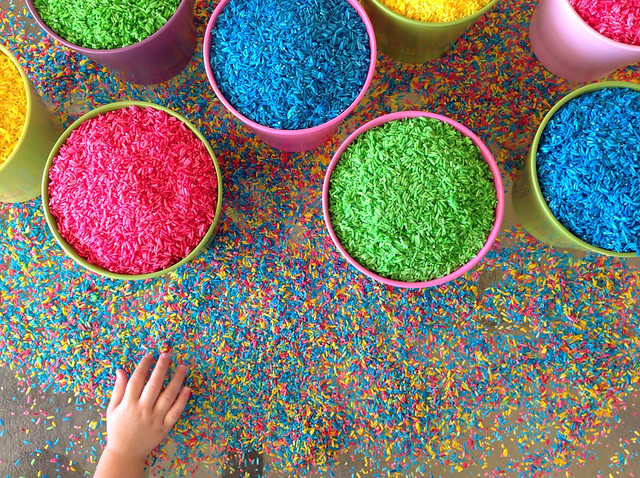
Once dry, I poured my batches in to pots that I was using as table decorations at the party - to be sure that I had enough rice. I made MUCH more than I recommended for this tutorial because I needed about 10 pots for tables... and I wanted to have some for Isla to play with ;) Of course!

Tutorial Tuesday --> How To Make Rainbow Coloured Rice In 3 Easy Steps! By Rhapsody and Thread
My potted colour!

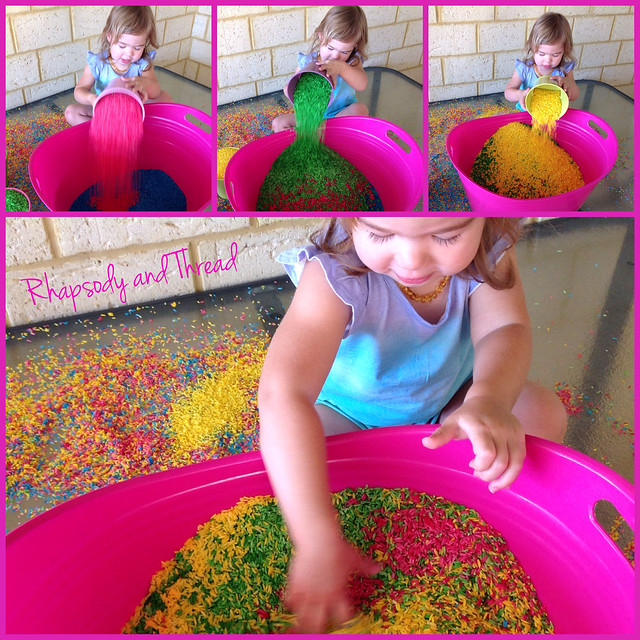
As you can see, Isla was desperate to get to the bowls and mix them up for me.

So I popped her up on the table to help and she LOVED IT!

Tutorial Tuesday --> How To Make Rainbow Coloured Rice In 3 Easy Steps! By Rhapsody and Thread
Pour in and mix!

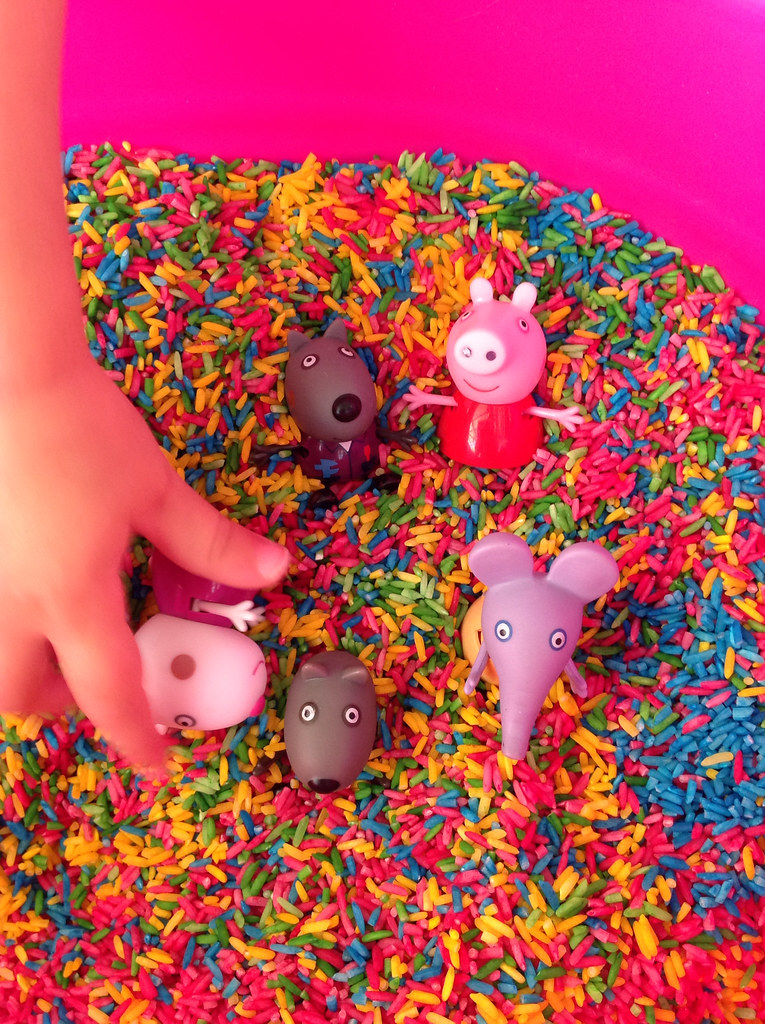
She mixed them up for me and I threw her Peppa critters in there.

She loved covering them with rice and digging them out again.

Tutorial Tuesday --> How To Make Rainbow Coloured Rice In 3 Easy Steps! By Rhapsody and Thread
Peppa and friends playing hide and seek in the rice!
Tutorial Tuesday --> How To Make Rainbow Coloured Rice In 3 Easy Steps! By Rhapsody and Thread

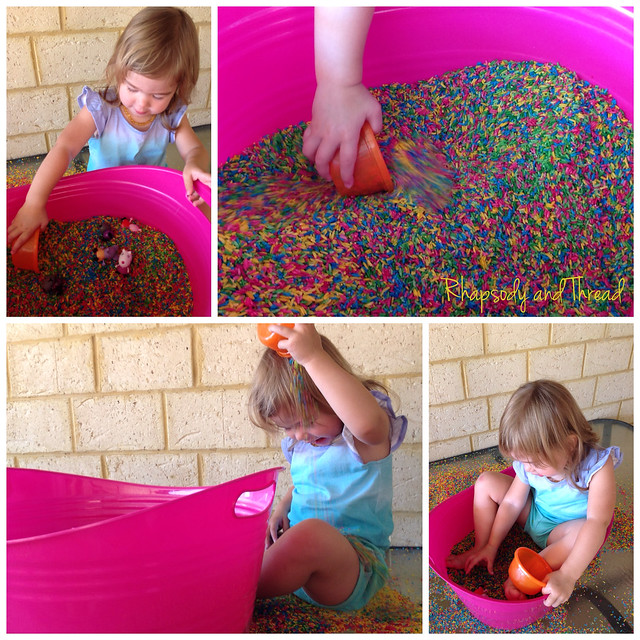
So that was my big batch of rainbow rice made for the party.

And I let her play with the leftovers :)

It was a lot of fun.

Tutorial Tuesday --> How To Make Rainbow Coloured Rice In 3 Easy Steps! By Rhapsody and Thread

I hope you give this a try and your kids have just as much fun! You could even get them involved in the making depending on their age. I know I was too scared to let Isla near the colour or vinegar (for obvious reasons) but she loved pouring the cup of rice into the bag. The great thing is that the measurements don't have to be specific so the kids can get as much in the bag as they can. And they can even help with the GENTLE smooshing of the bag... maybe you should hold the sealed end and close your eyes and hope for the best!

Good luck!!