Showing posts with label Craft Projects. Show all posts

Friday, 15 January 2016

Isla's Unicornia Quilt {Progress} || Pattern by Claire Turpin Designs

Unicornia Quilt Block 1 hanging with Liberty Deer Doll
Liberty fabric unicorn sleeping on the moon block
Liberty Unicorn and butterfly quilt block
Unicornia Quilt Blocks || Pattern by Claire Turpin Designs
Liberty Triangles Patchwork beside Purple Unicorn applique
Liberty unicorn quilt blocks hanging above dolls
Closeup of rainbow and unicorn appliquw]
Two unicorns talking quilt applique block
Unicornia Quilt Blocks || Pattern by Claire Turpin Designs
Sewing the blocks together today was a tiny bit stressful as I made a couple of mistakes when cutting (whoops). And I had forgotten to add a butterfly - see the last picture?! Isn't she pretty?
But easily fixed and overall the blocks look amazing! I love how the colours compliment each other so perfectly.
This pattern is Claire Turpin Designs > Unicornia Quilt.
Liberty fabrics are from Materialise Your Life and The Strawberry Thief.
Remaining fabrics are from Carols Of Midland.
Now to join the blocks!!!

Tuesday, 12 January 2016

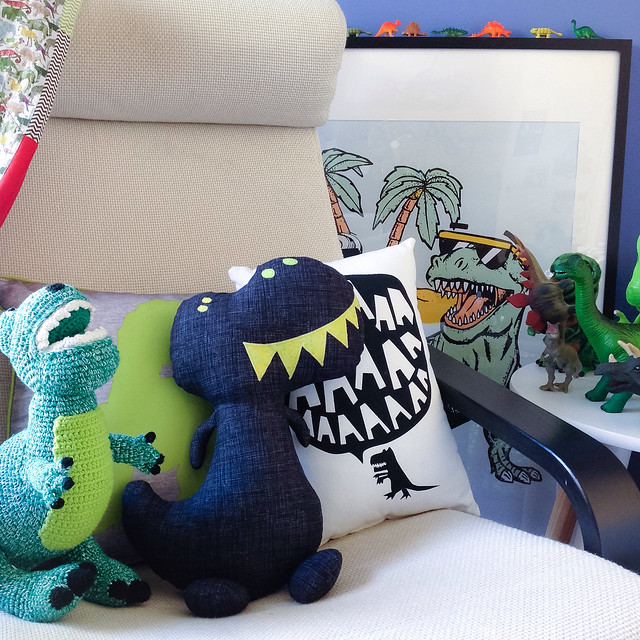
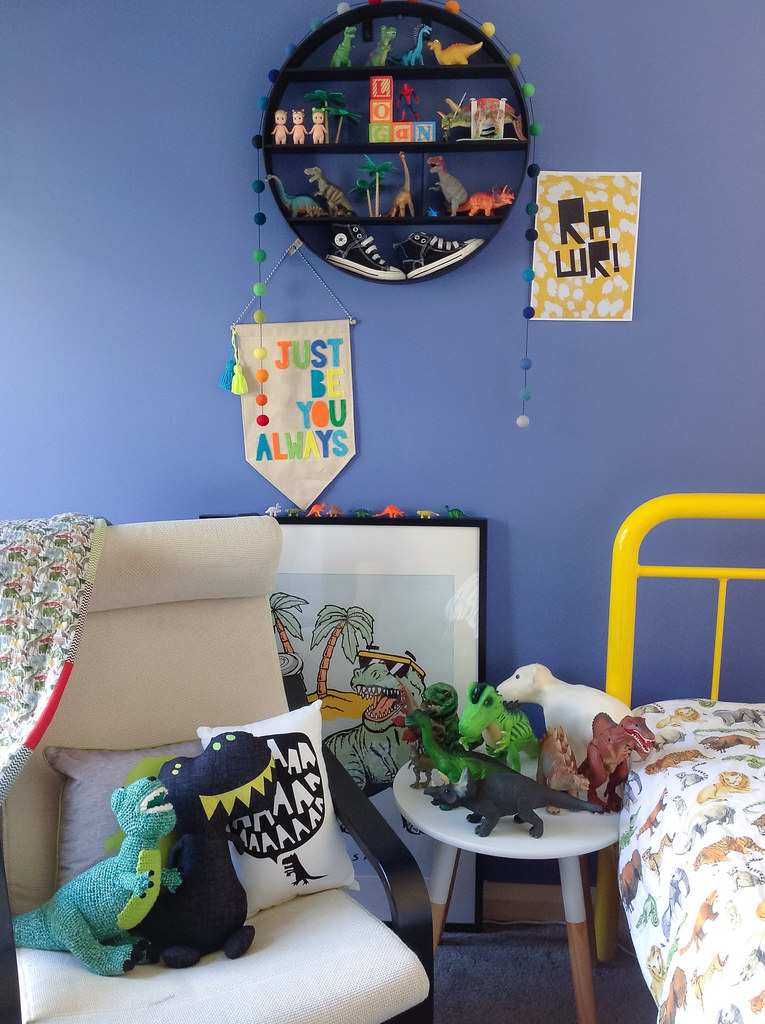
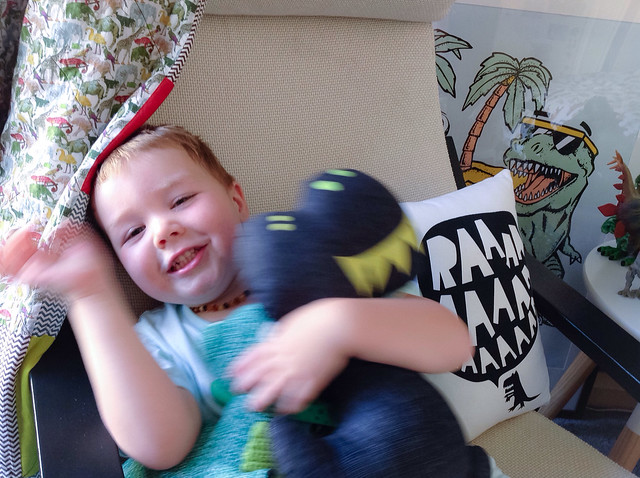
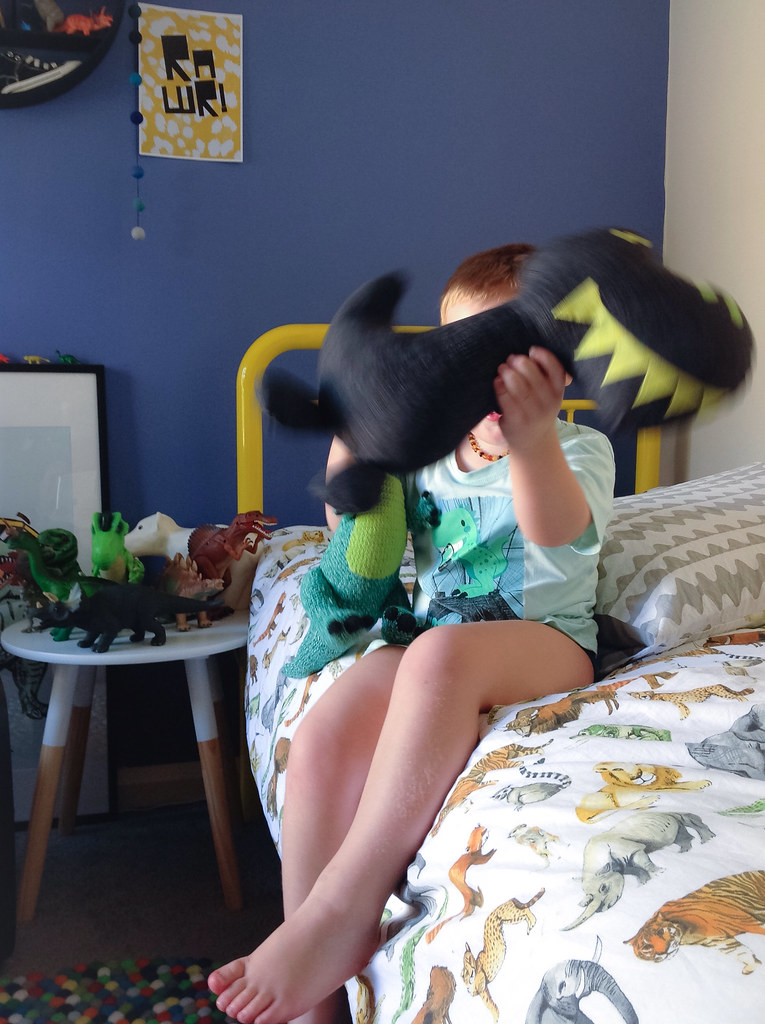
ROOAARR New Dinosaur Softie For Logie Rex

This Christmas break has given me the opportunity to try a whole bunch of new patterns that I've been thinking about all year. This is the Dinosaur Softie - pattern by Dolls and Daydreams. He was SO easy to make!!! I would highly recommend this pattern for anyone, with beginners sewing skills, wanting to make a boys softie. Sarah's patterns are easy to follow and her photo instructions are the best!!

Find this Dinosaur pattern and plenty more here.

Happy sewing

xxT


Monday, 28 December 2015

Liberty Sew Together Bag || Best Christmas Gift Ever


Craft Organiser Bag Liberty Print EPP Hexie Patchwork Exterior


Liberty Christmas Present Sew Together Craft Bag

Sew Together Bag view from the top


Liberty lined Sew Together bag

Liberty fabric lining Sew Together bag Sew demented


Third Liberty fabric pockets sew together bag by sew demented

Second Liberty fabric pockets sew together bag by sew demented

Liberty fabric pockets sew together bag by sew demented


Side view of the sew together craft tool bag by sew demented


Base view of the Sew Together Bag Hexie Patchwork

Most people would recognise this pattern as the Sew Together Bag by Sew Demented!

When the pattern was released, mum made one for herself and I drooled all over it, but never thought for a second that I could make one for myself! I dread anything to do with zips and this has FOUR (argh!). So I hinted that maybe this might be a good Christmas present... and TAH DAH!!

The English-Paper-Pieced hexie patchwork was a special treat made using my new blue/red stash that I picked up in The Strawberry Thief's recent destash on IG.

I got to choose the lining fabrics, which were a mix of Liberty prints from both The Strawberry Thief and Materialise Your Life. And the final pops of colour came from the zipper colours! So many unique ways to customise this truly unique pattern.

If you haven't tried the pattern, I would recommend giving this one a go - or begging someone with better than beginner sewing skills to make one for you (skeehee). The bag itself has been really handy. It sits right next to my machine holding everything I need. And when the kids are in bed and I want to watch a bit of telly whilst stitching, I just take the whole bag with me. Super handy!

Wednesday, 13 May 2015

Operation: Spoil Mum For Mothers Day


This is a look back at all the treats I made mum for Mothers Day.


Of course Liberty was involved, with gusto!! I even tracked down coffee mugs from Kitchenware Direct because they have the most beautiful Strawberry Thief print on it. I know it's a William Morris print, but it's also a Liberty Art Fabric print - and one of our favourites. See below.


I also wanted to make something new for mum for Mothers Day. She has seen the picture mounts and the cushions that I make. And she loves Betsy print - so I made her a cushion in pink Betsy print. I also made her a Liberty Picture Mount in teal Betsy. I'll show you below.
 
But I wanted to make something different, something she didn't already have. So I searched fabric basket tutorials and came across this sweet little Gathered Basket pattern on A Spoonful Of Sugar Designs. The pattern was fun and easy to follow. I made this sample below for myself first to check the size and simplicity of the pattern. I chose Liberty print Gallymoggers in pink for the outside, and Garden Wonderland for the inside. I chose them because they match the candy stripe ribbon that I've been saving for yeeeeeears!
 
 
So perfect, I just had to make more! So I decided on two large and one small. I picked Betsy prints for the insides and coordinating colours/prints for the outsides.
 
 
Voila!


Then I was hooked! I had to go bigger! So I searched for "buckets" and came across this great Fabric Buckets Tutorial on Apartment Apothecary. Mum and I actually worked on these together. She created this Liberty Strawberry Thief bucket (not sure of the details for the overhang fabric) and I made one out of my treasured Liberty Marina Seaflower print with Liberty Ciara fabric overhang. The tutorial was easy to follow and didn't take long at all. I think it took longer to decide on which Liberty prints to use! LOL
 
 
Here's a shot of the Betsy Liberty Picture Mount I made mum, to frame this beautiful watercolour print I found on Etsy via TeaDesigns1. The quote from movie The Help have always, and will always, be meaningful.
 
 
So a happy Liberty-filled Mothers Day bundle for mum!
 
My Mothers Day gift for mum 2015
 
And an extra-special Mothers Day bundle for me. Enough Liberty to make me want to squeal. But even more magical is that little glass bottle of sand that my baby girl made at school. What a beautiful surprise it was to pick her up at school and see the look of excitement on her face. That was the best gift I received this year.
 
My mothers day bundle 2015


Friday, 24 April 2015

Liberty Backpack for Isla

So my baby girl, who is now three and not a baby anymore, started pre-kindy this year! Unbelievable. I'm still coming to grips with the realisation that she's growing up so fast, and spending most of two days a week with people I don't know. So I wanted a project to keep my mind distracted and I wanted to make something for her. I originally had thought I'd make her a library bag, but that's not the case now - for two reasons. Firstly, I now know that they don't visit the library at this age. And second, it's so beautiful that I'm not ready to let it out of the house!! So I've hung it in Isla's room to enjoy it and only bring it down when Isla wants to be a turtle and carry her unicorns around on her back.
 
So, I hunted for a pattern and remembered a really fun backpack pattern on The Purl Bee Blog a while back. Click here for link to pattern. I adapted the pattern in three ways. I personalised it with felt letters on the front. I swapped nylon chord for braided chord, and for this reason I had to double the height of the channel pieces and holes at the base to fit the bigger size of the braid.
 
Next, I dug out a piece of Liberty Lifestyle fabric, Bloomsbury Gardens Collection - print name Catherine (purchased years ago at Calico & Ivy). I chose this heavier weight fabric for strength and durability. Then, I found a matching spotted fabric for the lining (no idea where from as it's been around for ages). The bright pink felt is a rectangle that came with an unused Mollie Makes magazine project. And I got the gorgeous pink braid from Spotlight. I went looking for the nylon chord and came home with that instead. Happens a lot.

I vliesofixed the back of the felt and cut Isla's name out. I just hand-sketched the letters (backwards).
My favourite part is hand-stitching. I picked purple to provide a good contrast. My poor fingers and thumb were shredded from pushing and pulling through such stiff felt - but it was worth it. There's nothing more personal than hand-stitched letters, and the stiffer felt holds itself up really well. So I'm still happy with the choice of felt.
 
I didn't get any photos of the construction stage. The pattern was fantastic. So easy to follow and great big pictures helped me to work out what I had to do. Unfortunately for me, it wasn't as simple as Corinne's job, because I grabbed the braid instead of the chord. The braid was thicker - which meant that I had to remake larger channels and cut the holes at the base larger to squeeze the braid in. I also found that the braid doesnt slide as smoothly as a nylon braid would through the channels. But the backpack is still completely functional and looks fantastic!
 
Job well done xx For Isla Skye xx
 
For more pictures of Isla's backpack and her gorgeously bright Liberty-filled bedroom, pop over to my personal Instagram account @Rhapsodyland.


Sunday, 23 March 2014

There's A New Style Halter Dress In Town --> Treeyo

New Treeyo Halter Dress by Rhapsody and Thread

I thought I would share some photos of this gorgeous little dress I made for Isla a few nights ago.

I've wanted to make her a dress with pockets for AGES! She has always had this odd little habit of carrying small bits and bobs around. Her hands are never empty. It's never the same thing - but there's always something like a rock or a Dora figurine or a leaf or a sticker. So I just know that she'll get a real kick out of having pockets in her dress. It's a fun little perk and really pretty feature I think.

New Treeyo Halter Dress by Rhapsody and Thread

It still amazes me to see how this dress worked out. I'll tell you the story behind it. See, mum bought this fabric a few weeks ago. She only got a ¼ metre and I'm sorry she doesn't remember where from - it could have been either Calico & Ivy in Mosman Park or Patchwork At Homespun in Willagee. I will go hunting for it in the next few weeks because I want it for more items in my Etsy shop. So when I learn the name of the fabric and where to get it - I will let you know I promise.

So... what was I saying... oh yeah - mum only got a ¼ metre and it wasn't enough for a Halter Dress or a Halter Top for Isla :o( So I thought I would improvise and make her this new style Halter Dress with the gorgeous feature fabric as the front with coloured side panels.

I picked a hot pink Poplin from Spotlight on the right hand side.

New Treeyo Halter Dress by Rhapsody and Thread

And I made a sweet little pocket using a square with the purple flowers.

New Treeyo Halter Dress by Rhapsody and Thread

And I picked a bright light purple Poplin from Spotlight for the left hand side.

New Treeyo Halter Dress by Rhapsody and Thread

With a pocket made from a square of the fabric with hot pink flowers.

New Treeyo Halter Dress by Rhapsody and Thread

I kept the same shirring detail across the chest.

I love how it flares the rest of the dress out.

New Treeyo Halter Dress by Rhapsody and Thread

And I made halter straps from the matching Poplin fabric.

New Treeyo Halter Dress by Rhapsody and Thread

Scrumpy!

These will be coming soon to my Etsy shop. If you want to know when, like my Facebook Page. Or message/email me to request a custom order. I have an up-to-date Fabric Album on my Facebook Page if you want to DYO (design your own) dress. Just pick your front panel fabric and we can work out the best 2 side colours - you can decide what your little munchkin would like best. The price will vary depending on size and fabric choice (i.e. Designer or Premium Designer Fabric).

Thanks for reading xxo

Tabatha


Sunday, 22 December 2013

Liberty Christmas Stockings For The Whole Family

Liberty Fabric Christmas Stockings by Rhapsody and Thread

Can anyone else believe Christmas is in 3 days? I know I can't!

What a year we have had, with the birth of our son and all the joy that comes with raising young babies. This blog has been my 'time out' and I've been lucky enough to finish 3 beautiful Christmas craft projects. I made the Embroidery Hoop Christmas Tree pictured above and blogged about here. I also made Isla's Christmas Tree T-Shirt for her toddler Christmas party (tutorial can be found here). And then I made these gorgeous Christmas stockings for the whole family.

I had hoped to do more projects, and I even got part way through a table runner and an advent calendar.... but I realised a few weeks ago that I had to focus on getting the Christmas stockings done - otherwise Santa would have nothing to load up for the kids. And it's a gooooooooooood thing I did, because they took a lot longer than I thought they would. What doesn't when you've got babies right?

So here's the fabric I got from Calico & Ivy back in early November.

Liberty Fabric Christmas Stockings (fabric pile) by Rhapsody and Thread

The fabric is the beautiful soft Liberty of London tana lawn and I don't know the name of the print on the far left - but the next along with the big flowers is Garla. I picked that one for my Christmas stocking because I love the colours and the big floral pattern. Next along is Emma and Georgina and I picked it for Isla because of the smaller pretty floral pattern. And lastly for Logan, on the far right, is the Reuben print. I love this print because it looks like streamers and the colours are still a bit masculine.

It's funny but I can't even remember where I got my template from... ah ha, I just remembered. It's kind of a funny story that I'm sure some people can relate to?! Years ago I bought 2 cross-stitch Christmas stocking kits online from America. It was before I had kids and had a lot more time and space to leave craft projects lying around, ready to be picked up and continued whenever. But these kits were tougher than I thought they would be. Mine was a snow scene and there was so many shades of blue and white. It was hard to keep track and I got bored easily. Needless to say, they got ignored year after year until we started our family. Last year I vowed that I would have Christmas stockings for the whole family by Christmas 2013. And so I said goodbye to my partially completed cross-stitch kits and I used the stocking templates from the kit to make my fabric ones. Here are the Liberty fabrics cut-out.

Liberty Fabric Christmas Stockings by Rhapsody and Thread

I used 100% linen on the tops and backs, and used red Kona Cotton from Carols of Midland for the linings and applique lettering. Mum helped me out with the applique - using her spoofy Pfaff machine to stitch the letters on. That saved me a lot of time.

And here are the completed stockings! Hubby, me, ratbag #1, and ratbag #2!

Liberty Fabric Christmas Stockings by Rhapsody and Thread

And then there's Nanna! I was half way through cutting out the templates when I realised that Nanna needs a stocking too! Something pretty to hold scotch and chocolates. And of course, I snagged her favourite Liberty print at Calico & Ivy - the red Betsy Ann!

Liberty Fabric Christmas Stockings by Rhapsody and Thread

So yeah, I got there in the end. And I can't wait to see what Santa fills them with! I hung them on the hall table near the front door so that he can find them easily ;o)

Liberty Fabric Christmas Stockings by Rhapsody and Thread

Merry Christmas x